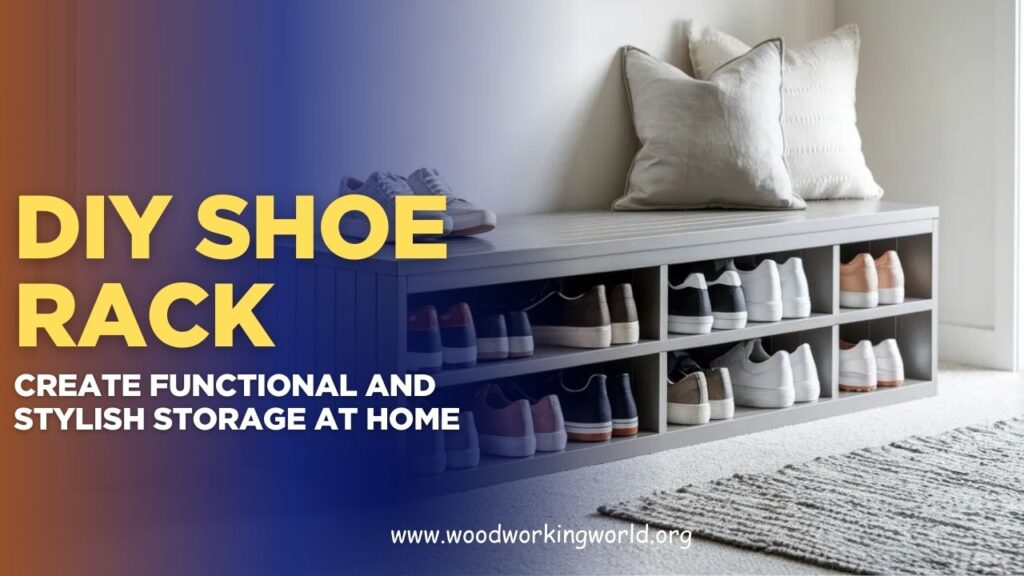
DIY Shoe Rack: Create Functional and Stylish Storage at Home
Struggling with scattered shoes cluttering your entryway or bedroom? A DIY shoe rack is becoming a popular solution for homeowners who want practical storage without sacrificing style—or spending a fortune. But is building your own shoe rack really as simple and rewarding as it sounds?
In this guide to DIY shoe rack creation, we’ll walk you through smart design ideas, essential materials, step-by-step instructions, cost-saving tips, and creative styles you can try at home. Most importantly, you’ll discover how to build a shoe rack that’s not just functional, but a stylish addition to your space.
👉 CLICK HERE to Unlock 16,000+ DIY woodworking plans now
Why Build Your Own DIY Shoe Rack?
1. Custom Fit for Your Space
Pre-made shoe racks don’t always suit odd corners or tight hallways. With a DIY shoe rack, you get a tailored solution for your exact dimensions.
2. Save Money
Why spend \$50–\$200 on a commercial rack when you can build one with basic materials for a fraction of the cost?
3. Creative Freedom
Choose your preferred materials, finishes, and number of tiers to create a shoe rack that matches your style.
Key Takeaway: A DIY shoe rack offers cost savings, customization, and a satisfying hands-on experience that elevates your home’s organization.
👉 CLICK HERE to Unlock 16,000+ DIY woodworking plans now
Tools & Materials You’ll Need
Before you begin, gather the following supplies (based on a simple wooden shoe rack design):
- Measuring tape
- Saw (hand or power)
- Drill & screws
- Sandpaper or sander
- Wood boards (pine or plywood work well)
- Wood glue
- Paint, stain, or sealant (optional)
Optional Add-ons:
- Caster wheels (for portability)
- Hooks or bins for accessories
Step-by-Step DIY Shoe Rack Guide
Step 1: Measure Your Space
- Measure the height, width, and depth of the area where the rack will go.
- Consider how many pairs of shoes you need to store.
Step 2: Cut Your Wood
- Cut side panels, shelves, and support rails to fit your desired rack size.
- Sand all edges for a smooth finish.
Step 3: Assemble the Frame
- Use wood glue and screws to attach side panels to top and bottom shelves.
- Add additional shelves spaced about 6–8 inches apart, depending on shoe types.
Step 4: Secure & Finish
- Once the structure is solid, apply your choice of paint or stain.
- Allow it to dry thoroughly before placing shoes.
Pro Tip: Add a coat of polyurethane for extra durability, especially in mudrooms or high-traffic areas.


Creative DIY Shoe Rack Ideas
Pallet Shoe Rack
Use reclaimed pallets to create a rustic, budget-friendly shoe organizer.
Floating Wall Rack
Mount small shelves directly to the wall—great for minimalist and space-saving designs.
PVC Pipe Shoe Tower
Stack short PVC pipes vertically to hold individual pairs in a fun, modern design.
Ladder Shoe Shelf
Lean an old wooden ladder against a wall and use each step as a tier for shoes.
Key Takeaway: From rustic to modern, your DIY shoe rack can be as unique as your home.
👉 CLICK HERE to Unlock 16,000+ DIY woodworking plans now
Maintenance Tips for Your DIY Shoe Rack
- Wipe down weekly to prevent dirt buildup.
- Check for loose screws or shelves every few months.
- Repaint or reseal annually if placed in humid or high-traffic areas.
Conclusion: Build a DIY Shoe Rack That Fits Your Life
Building your own DIY shoe rack is more than just a weekend project—it’s a smart, satisfying way to improve your home’s organization. With just a few tools and some creativity, you can design a solution that saves space, adds style, and makes your daily routine smoother.
Ready to Build?
Gather your tools, pick your design, and start crafting a DIY shoe rack that’s built to last. Your shoes—and your entryway—will thank you!
👉 CLICK HERE to Unlock 16,000+ DIY woodworking plans now
