Decorative and functional woodworking butterfly joints explained
Butterfly joints are one of the most recognizable and celebrated details in woodworking—valued not only for their beauty but also for their impressive structural strength. Whether used to stabilize cracks in live-edge slabs or added purely as a decorative accent, these hourglass-shaped inlays bring both form and function to any woodworking project. Their timeless appeal makes them popular in everything from rustic tabletops to fine furniture.
In this guide, we’ll break down exactly how butterfly joints work, why they’re used, the design variations you can create, and how to incorporate them into your own projects for both artistic flair and dependable reinforcement.
👉 CLICK HERE to Unlock 16,000+ DIY woodworking plans now
What is a Butterfly Joint?
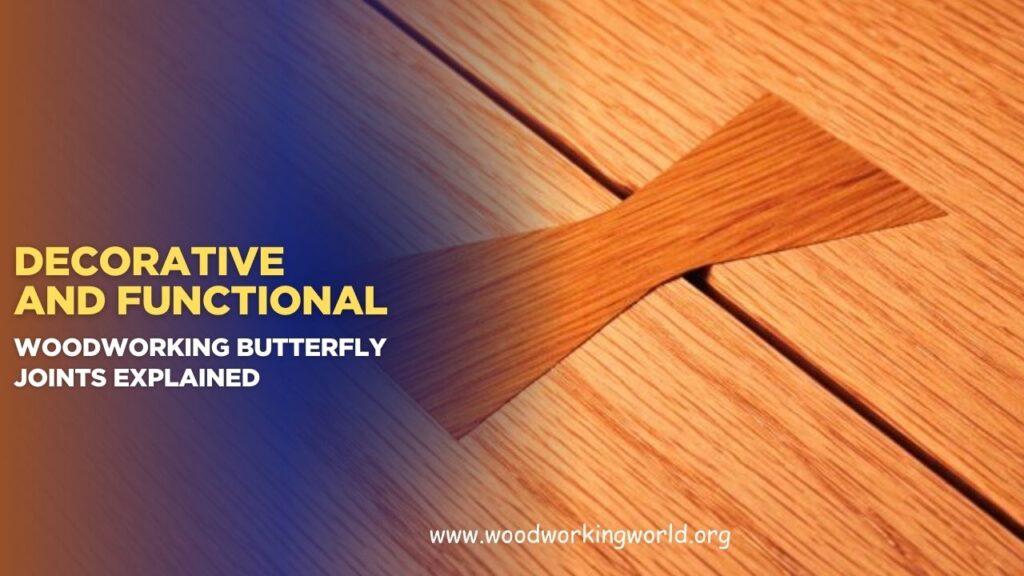
A butterfly joint is a wooden inlay, shaped like a bowtie, used to stabilize and strengthen cracks or splits in wood. The joint is inserted into a mortise (a cavity cut into the wood) to hold two separate pieces of wood together or prevent an existing crack from widening. Beyond its structural benefits, butterfly joints are often used as a decorative element, adding a handcrafted look to woodworking projects.
Where are Butterfly Joints Used?
Butterfly joints are commonly used in:
- Live-edge slab furniture
- Rustic wood tables
- Cabinetry
- Wooden flooring repairs
- Artistic wooden inlays
- Preventing further splitting in aged or reclaimed wood
👉 CLICK HERE to Unlock 16,000+ DIY woodworking plans now
Step-by-Step Guide to Making a Butterfly Joint
Creating a butterfly joint requires precision and attention to detail. Follow these steps to make your own:
Step 1: Gather Your Tools and Materials
To make a butterfly joint, you will need:
- A piece of wood for the butterfly key (preferably a contrasting wood species)
- A chisel set
- A router or mallet
- A coping saw or band saw
- Wood glue
- A marking gauge or pencil
- Clamps
- Sandpaper
Step 2: Design and Cut the Butterfly Key
- Draw the butterfly shape on your chosen wood piece. The traditional bowtie shape is wider at the ends and narrower in the middle.
- Use a coping saw or band saw to cut out the shape carefully.
- Sand the edges to ensure a precise fit.
Step 3: Mark and Cut the Mortise
- Place the butterfly key over the area where you want to reinforce the wood.
- Trace around the key with a pencil or marking knife.
- Use a router or chisel to remove the traced area carefully. Ensure that the depth of the mortise matches the thickness of the butterfly key.
Step 4: Fit and Secure the Joint
- Check the fit of the butterfly key in the mortise. It should be snug but not overly tight.
- Apply wood glue to the mortise and insert the butterfly key.
- Clamp the area and allow the glue to dry for a few hours.
Step 5: Sand and Finish the Joint
- Once the glue has dried, use sandpaper to level the joint with the wood surface.
- Apply a wood finish or sealant to enhance the contrast and protect the surface.


Butterfly Joints vs. Other Joinery Techniques
Below is a comparison of butterfly joints with other popular woodworking joints:
| Feature | Butterfly Joint | Dovetail Joint | Mortise and Tenon | Biscuit Joint |
|---|---|---|---|---|
| Strength | High (ideal for reinforcing cracks) | Very strong (used in drawer construction) | Extremely strong (used in furniture making) | Moderate (for alignment and reinforcement) |
| Difficulty Level | Moderate | Difficult | Advanced | Easy |
| Decorative Appeal | High | Medium | Low | Low |
| Common Uses | Live-edge furniture, rustic woodworking | Drawers, cabinets | Tables, chairs, doors | Panel glue-ups |
Advantages of Using Butterfly Joints
- Strengthens Cracks: Prevents existing wood cracks from widening.
- Aesthetic Appeal: Adds a beautiful handcrafted look.
- Minimal Hardware Needed: Only requires glue and precise cutting.
- Versatile: Can be used in various woodworking projects, from rustic to modern designs.
- Customizable: Can be made from different types of wood to create contrast.
Famous Quote on Woodworking
“Woodworking requires patience, precision, and creativity—qualities that are all embodied in the beauty of a butterfly joint.” – Anonymous
FAQs About Butterfly Joints
1. Are butterfly joints strong?
Yes, butterfly joints significantly strengthen wood by preventing cracks from expanding. When properly installed, they add durability and stability to a project.
2. What type of wood is best for butterfly keys?
Hardwoods like walnut, maple, and oak are best because they offer excellent durability and contrast well with softer woods.
3. Can butterfly joints be used for modern furniture?
Absolutely! While commonly seen in rustic designs, butterfly joints can be incorporated into modern furniture by using clean lines and minimalist inlays.
4. How deep should a butterfly joint be?
The depth should be approximately 1/3 of the thickness of the wood piece being reinforced.
5. Do I need special tools to make a butterfly joint?
No, but having a chisel set, coping saw, and router will make the process easier and more precise.
👉 CLICK HERE to Unlock 16,000+ DIY woodworking plans now
Conclusion
Butterfly joints are a fantastic combination of function and design, offering woodworkers an elegant way to reinforce and beautify their projects. Whether you’re repairing a cracked slab or adding a decorative touch to furniture, mastering the butterfly joint can elevate your craftsmanship. By following the step-by-step guide and understanding its applications, you can create durable and visually appealing woodworking pieces with this timeless technique.
👉 CLICK HERE to Unlock 16,000+ DIY woodworking plans now
