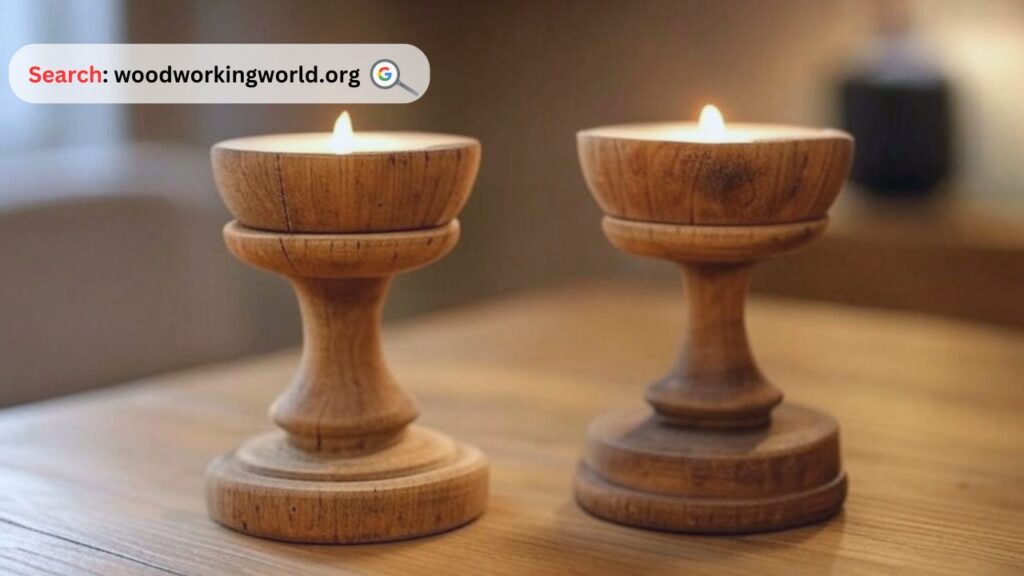
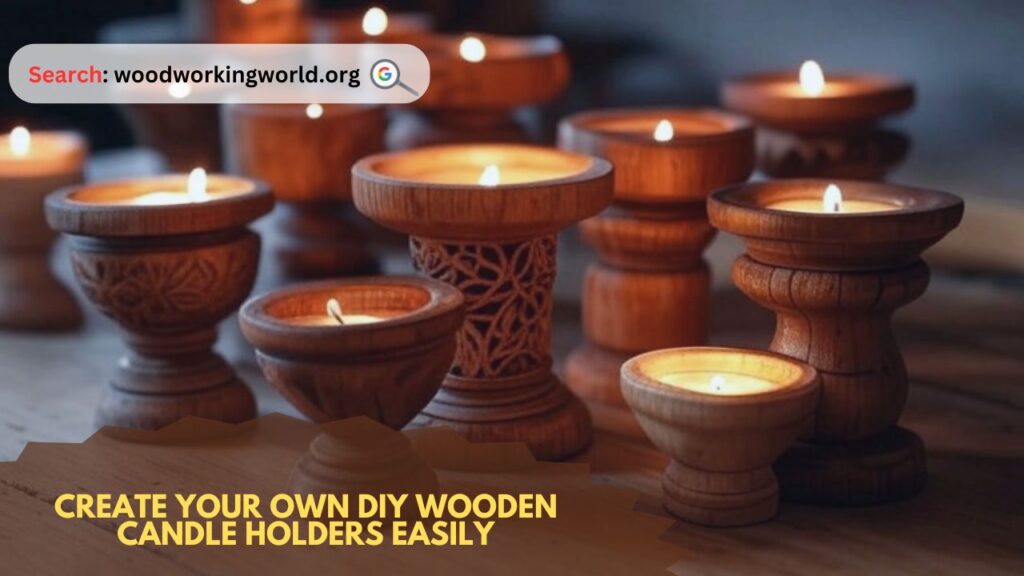
Create your own DIY wooden candle holders with this easy guide! Perfect for adding a rustic touch to your decor. Simple steps, minimal tools, and budget-friendly!
Woodworking projects can be an enjoyable and fulfilling experience, especially when crafting something as simple yet elegant as wooden candle holders. Whether you’re a beginner or a seasoned DIY enthusiast, making wooden candle holders allows you to add a touch of warmth and personality to your home decor. In this guide, we will take you through a step-by-step process to create your own wooden candle holders with ease.
Why Make DIY Wooden Candle Holders?
Creating your own wooden candle holders comes with several benefits:
- Personalization: Customize the size, shape, and design to match your decor.
- Cost-Effective: DIY candle holders are more affordable than store-bought ones.
- Eco-Friendly: Use sustainable wood or reclaimed materials to reduce waste.
- Handmade Touch: Handmade items add uniqueness and charm to any setting.
Materials and Tools Needed
Before starting, gather the necessary materials and tools to ensure a smooth workflow.
Materials:
- Wooden blocks or logs (hardwood like oak, walnut, or maple recommended)
- Sandpaper (120-220 grit)
- Wood stain or paint (optional)
- Wood sealer or polyurethane
- Wood glue (optional for joining pieces)
- Tea light or taper candles
Tools:
- Saw (hand saw or power saw)
- Drill with hole saw bit or spade bit (to fit candle size)
- Clamps (if gluing pieces together)
- Measuring tape
- Pencil and ruler
- Paintbrush or cloth (for applying finish)
Build 16,000+ Projects with Step-by-Step Plans—No Big Workshop or Costly Tools Needed! Start Now!
Step-by-Step Guide to Making Wooden Candle Holders
Step 1: Choose and Prepare Your Wood
Select a piece of wood that fits your desired design. You can use reclaimed wood, scrap wood, or purchase hardwood from a local store. Make sure the wood is dry and free from cracks or pests.
Step 2: Measure and Mark
Decide on the height and diameter of your candle holders. Use a measuring tape and pencil to mark the cutting lines.
Step 3: Cut the Wood
Use a saw to cut the wooden pieces according to your marked lines. If making multiple holders, ensure they are of uniform height or varied for a stylish look.
Step 4: Drill Candle Holes
Secure the wood using clamps. Using a drill with a hole saw or spade bit, create a hole in the center of the top surface to fit your candle securely. Drill to a depth that holds the candle firmly without tipping over.
Step 5: Sand the Surface
Smooth all surfaces and edges using sandpaper. Start with a rough grit (120) and gradually move to finer grit (220) for a polished finish.
Step 6: Apply Finish
Apply a wood stain, paint, or natural oil to enhance the wood’s appearance. Let it dry completely before sealing with polyurethane or another wood sealer.
Step 7: Let It Dry
Allow the finished pieces to dry for at least 24 hours in a well-ventilated space.
Step 8: Insert Candles
Once dry, place your candles inside the holes and enjoy your handmade wooden candle holders!
Expert tips on Woodworking 🌿📦 Watch now! 🎥

Comparison Table: DIY vs. Store-Bought Wooden Candle Holders
| Feature | DIY Wooden Candle Holders | Store-Bought Wooden Candle Holders |
|---|---|---|
| Customization | High – Choose design, color, size | Limited to store options |
| Cost | Lower – Uses available materials | Higher – Includes manufacturing costs |
| Skill Development | Learn new woodworking skills | No skill required |
| Personal Touch | Unique handmade design | Mass-produced |
| Eco-Friendly | Sustainable if reclaimed wood is used | Varies |
Pro Tips for a Professional Finish
- Use beeswax or mineral oil for a natural, food-safe finish.
- Add decorative engravings or carvings for extra flair.
- Experiment with different wood types to achieve unique textures and colors.
Quote for Inspiration
“The best way to predict your future is to create it.” – Abraham Lincoln
Frequently Asked Questions (FAQs)
1. What type of wood is best for making candle holders?
Hardwoods like oak, walnut, and maple are best due to their durability and resistance to heat.
2. How can I ensure my candle holder is fire-safe?
Ensure the hole fits the candle snugly, use a metal or glass insert, and never leave burning candles unattended.
3. Can I make a wooden candle holder without power tools?
Yes! You can use a hand saw and chisel, but it may take longer to achieve a refined look.
4. How do I clean my wooden candle holders?
Wipe them with a dry or slightly damp cloth. Avoid soaking in water to prevent wood damage.
5. Can I sell my DIY wooden candle holders?
Absolutely! Handmade wooden candle holders are popular on platforms like Etsy and craft fairs.
Conclusion
Creating DIY wooden candle holders is a fun and rewarding project that enhances your woodworking skills while allowing you to craft beautiful home decor items. Whether you make them for personal use or as gifts, these candle holders will add a rustic and cozy touch to any space. Start crafting today and enjoy the satisfaction of a handmade masterpiece!
Click To Order Teds Woodworking With A 60-Money-back Guarantee From – Official Website