Discover creative and rustic pallet woodworking projects! Transform reclaimed wood into stunning DIY furniture, decor, and more with these unique ideas.
Pallet woodworking has gained popularity among DIY enthusiasts and professional woodworkers alike. These readily available wooden structures offer a cost-effective way to create stunning, rustic furniture and decor pieces. Whether you’re a beginner or an experienced craftsman, pallet woodworking projects provide an excellent opportunity to repurpose wood sustainably while adding a unique charm to your home or garden.

In this article, we’ll explore various pallet woodworking projects, a step-by-step guide to working with pallets, a comparison table of pallet wood types, essential tools, and frequently asked questions to ensure your woodworking success.
Benefits of Pallet Woodworking
- Cost-effective: Pallets are often free or available at a low cost.
- Eco-friendly: Repurposing pallets reduces waste and promotes sustainable living.
- Versatile: Suitable for a variety of projects, from furniture to garden decor.
- Unique Aesthetic: Provides a rustic and creative design element to any space.
Build 16,000+ Projects with Step-by-Step Plans—No Big Workshop or Costly Tools Needed! Start Now!
Step-by-Step Guide to Pallet Woodworking
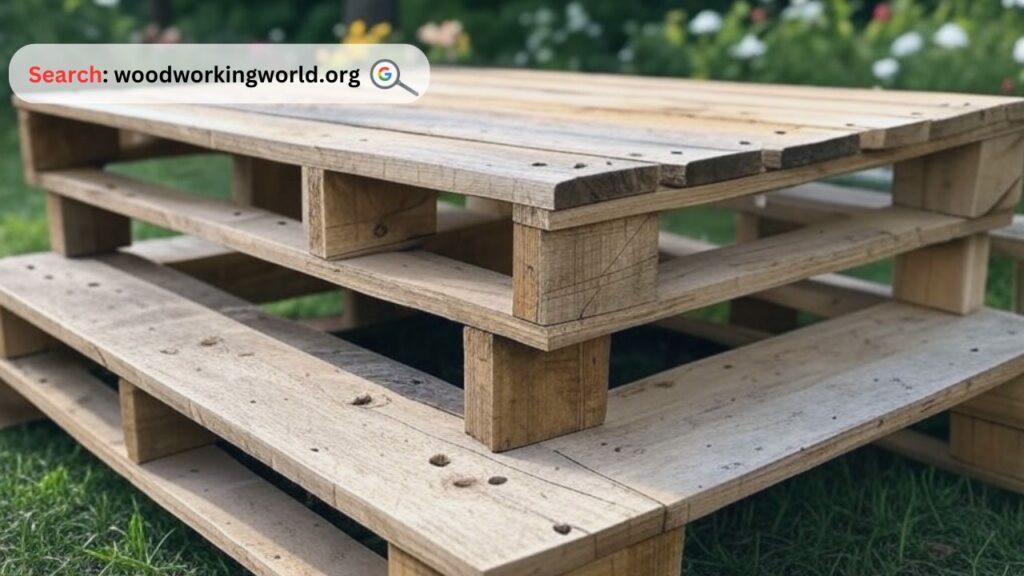
1. Sourcing and Selecting the Right Pallets
Not all pallets are created equal. Follow these steps to choose safe and high-quality pallet wood:
- Look for HT Stamped Pallets: HT (Heat-Treated) pallets are safe for indoor use, whereas MB (Methyl Bromide) pallets contain chemicals.
- Check for Damage: Avoid pallets with cracks, splits, or excessive mold.
- Where to Find Pallets: Look for pallets at warehouses, grocery stores, or construction sites (with permission).
2. Disassembling Pallets Safely
To break down pallets efficiently:
- Tools Needed: Crowbar, hammer, reciprocating saw with a metal-cutting blade.
- Process:
- Remove nails carefully to avoid splitting the wood.
- Use a saw to cut through tough joints if necessary.
- Sand the planks to remove splinters and rough edges.
3. Preparing the Wood
- Cleaning: Wash the pallet wood with a mild detergent and let it dry completely.
- Sanding: Use medium to fine-grit sandpaper for a smooth finish.
- Staining/Painting: Choose a finish that complements your project’s aesthetic.
4. Building Your Pallet Project
Here are a few easy-to-follow pallet woodworking projects:
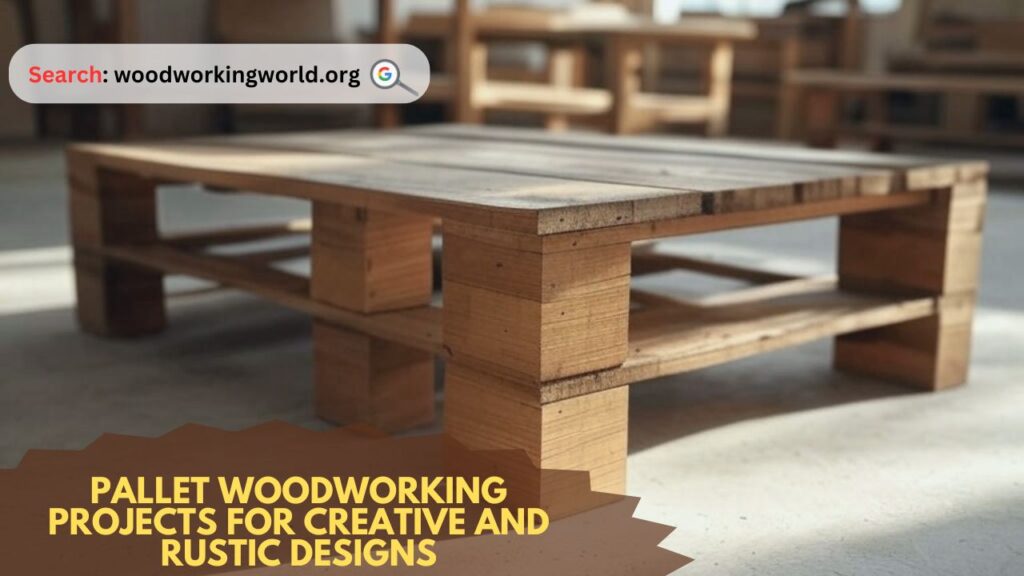
Rustic Pallet Coffee Table
- Materials: Pallet planks, screws, wood glue, sandpaper, stain or paint.
- Steps:
- Arrange and cut planks to the desired table size.
- Secure the planks together using screws and wood glue.
- Attach legs or wheels for added functionality.
- Sand and finish as per your design preference.
Pallet Garden Planter
- Materials: Pallet planks, nails, waterproof lining.
- Steps:
- Cut and assemble the pallets into a rectangular or square frame.
- Line the inside with a waterproof fabric to retain soil.
- Fill with soil and plant your favorite flowers or herbs.
Pallet Bookshelf
- Materials: Pallet planks, brackets, screws, paint.
- Steps:
- Disassemble a pallet and cut planks to shelf size.
- Attach the planks using brackets for support.
- Secure the bookshelf to the wall for stability.
5. Finishing Touches
- Sealing: Apply a wood sealant for durability.
- Polishing: Use a polishing cloth to enhance the wood’s natural beauty.
- Decorating: Add handles, hooks, or custom carvings to personalize your project.
Expert tips on Woodworking 🌿📦 Watch now!

Comparison Table: Types of Pallet Wood
| Wood Type | Characteristics | Best Uses |
|---|---|---|
| Pine | Lightweight, softwood | Decorative pieces, small furniture |
| Oak | Strong, durable | Tables, shelves |
| Maple | Smooth texture | Flooring, high-end furniture |
| Cedar | Naturally resistant to moisture | Outdoor projects |
Essential Tools for Pallet Woodworking
- Hammer and nails
- Saw (hand saw or power saw)
- Sandpaper or electric sander
- Drill and screws
- Wood glue
- Measuring tape and level
Relevant Quote
“Woodworking is not just a hobby, it’s a way to transform simple materials into something extraordinary.” – Unknown
Frequently Asked Questions
Q1: Is pallet wood safe for indoor furniture?
Yes, as long as you use heat-treated (HT) pallets rather than chemically treated (MB) ones.
Q2: How do I remove nails from pallets without damaging the wood?
Use a pry bar and hammer carefully or cut through nails with a reciprocating saw to minimize wood breakage.
Q3: Can I paint pallet wood without sanding it first?
Sanding is recommended to ensure a smooth surface for better paint adhesion.
Q4: Where can I find free pallets?
Check local warehouses, home improvement stores, or online marketplaces where businesses often give them away for free.
Q5: How do I protect my pallet wood project from weather damage?
Use an outdoor wood sealant or waterproof paint to enhance durability.
Conclusion
Pallet woodworking offers endless possibilities for creating stylish and rustic designs. Whether you’re making furniture, garden decor, or storage solutions, repurposing pallets is a budget-friendly and sustainable choice. By following the steps outlined in this guide, you can confidently start your next pallet woodworking project and bring your creative vision to life.
Get started today and embrace the beauty of handcrafted wooden designs!
Click To Order Teds Woodworking With A 60-Money-back Guarantee From – Official Website