Perfect small wooden planter box for compact green spaces
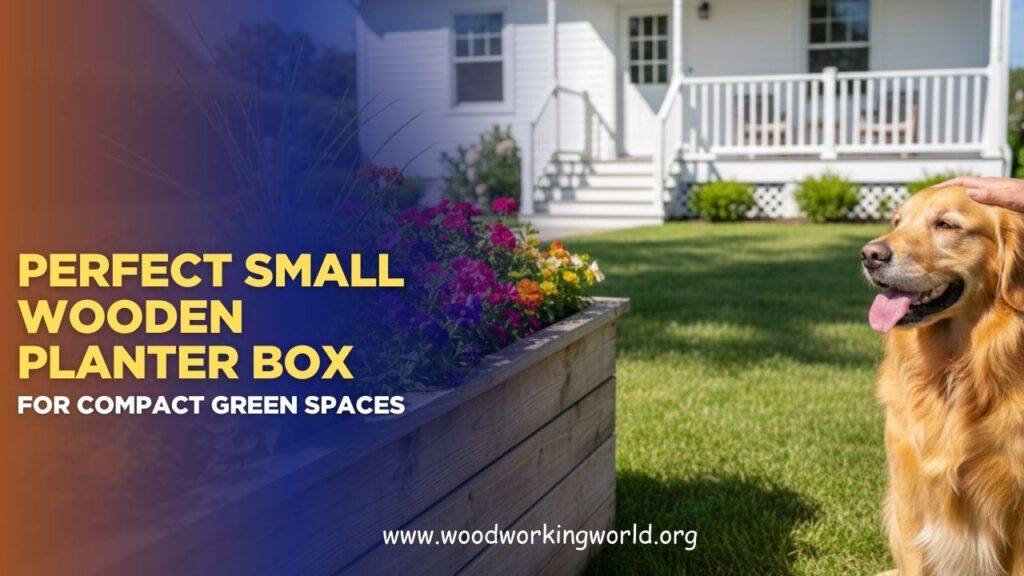
Maximizing greenery in limited spaces can be a challenge, but a small wooden planter box offers the perfect solution for adding plants, herbs, or flowers without taking up too much room. Its natural material adds warmth and charm while keeping your compact space organized and inviting.
In this guide to the perfect small wooden planter box for compact green spaces, we’ll explore ideal dimensions, wood types, design tips, and planting ideas—helping you create a beautiful, functional mini-garden that fits seamlessly into any cozy nook or balcony.
👉 CLICK HERE to Unlock 16,000+ DIY woodworking plans now
Benefits of a Small Wooden Planter Box
- Space Optimization: Ideal for balconies, patios, and compact gardens.
- Versatility: Can accommodate flowers, herbs, and even small vegetables.
- Aesthetic Appeal: Adds a rustic and natural touch to your space.
- Portability: Can be moved around to optimize sunlight exposure.
- Customizable: Available in various shapes and sizes to match your needs.
👉 CLICK HERE to Unlock 16,000+ DIY woodworking plans now
Materials and Tools Required
Before you start building your small wooden planter box, gather the necessary materials and tools:
Materials:
- Wooden planks (cedar, pine, or redwood recommended)
- Galvanized screws or nails
- Wood glue (optional for extra strength)
- Sandpaper (medium and fine grit)
- Wood stain or weatherproof sealant
- Landscape fabric (for better drainage)
Tools:
- Measuring tape
- Saw (hand saw or circular saw)
- Drill with drill bits
- Screwdriver
- Clamps (optional for holding pieces together)
- Paintbrush (for sealant application)
Build 16,000+ Projects with Step-by-Step Plans—No Big Workshop or Costly Tools Needed! Start Now!
Step-by-Step Guide to Building a Small Wooden Planter Box
Step 1: Measure and Cut the Wood
Measure and mark the dimensions of your planter box based on the available space. A typical small planter box size is 24 inches (L) x 12 inches (W) x 10 inches (H). Cut the wood planks accordingly:
- Two long sides: 24 inches each
- Two short sides: 12 inches each
- Base: 22 inches x 10 inches
Use sandpaper to smooth the edges for a refined finish.
Step 2: Assemble the Frame
Arrange the wooden planks to form a rectangular box. Use clamps to hold the pieces together while drilling pilot holes to prevent splitting. Secure the planks with screws or nails.
Step 3: Attach the Base
Position the base piece at the bottom of the frame and secure it with screws. Ensure it fits snugly to provide a sturdy foundation for the soil.
Step 4: Drill Drainage Holes
Drill small holes in the base to allow proper drainage and prevent waterlogging, which can harm plant roots.
Step 5: Apply a Protective Finish
To ensure longevity, apply a weatherproof wood sealant or stain to protect the planter from moisture, pests, and harsh weather conditions. Let it dry completely before use.
Step 6: Line the Inside with Landscape Fabric
To prevent soil from washing out, line the inside of the box with landscape fabric and secure it along the edges.
Step 7: Fill with Soil and Plant Your Greenery
Choose high-quality potting soil suited to your plant selection. Fill the box, plant your flowers, herbs, or vegetables, and water them adequately.
🛠️ Ted’s 16,000 Woodworking Plans – Why You’ll Love It


Comparison Table: Wooden Planter Box vs. Other Planter Materials
| Feature | Wooden Planter Box | Plastic Planter | Metal Planter | Ceramic Planter |
|---|---|---|---|---|
| Aesthetic | Natural & warm | Basic & synthetic | Modern & sleek | Elegant & decorative |
| Durability | Long-lasting with treatment | Prone to cracking | Rust-resistant but heats up | Heavy but prone to chipping |
| Customization | Highly customizable | Limited options | Moderate customization | Minimal customization |
| Eco-friendliness | Sustainable & biodegradable | Non-biodegradable | Recyclable | Natural but energy-intensive |
Tips for Maximizing Space in Compact Areas
- Vertical Gardening: Use stackable planters or wall-mounted wooden boxes.
- Multi-tiered Planters: Create layered arrangements for more planting space.
- Use Hanging Planters: Suspend wooden planters from railings or ceilings.
- Mix Plants Smartly: Combine different plants that thrive together for better utilization.
Relevant Quote
“Gardening adds years to your life and life to your years.” – Unknown
FAQs
1. What type of wood is best for a small wooden planter box?
Cedar, redwood, and pine are excellent choices due to their durability, resistance to rot, and aesthetic appeal.
2. How can I make my wooden planter box last longer?
To extend its lifespan, apply a weatherproof sealant, use drainage holes, and line the interior with landscape fabric.
3. What plants are best suited for small wooden planter boxes?
Herbs like basil and mint, flowers like petunias and marigolds, and small vegetables like cherry tomatoes and lettuce thrive well in compact wooden planters.
4. How often should I water plants in a wooden planter box?
Watering frequency depends on the plant type, weather, and soil drainage. Typically, watering once every 2–3 days is sufficient, but check soil moisture levels regularly.
5. Can I use a wooden planter box indoors?
Yes! Ensure you place a plastic tray underneath to prevent water leakage and use indoor-friendly plants like succulents or snake plants.
👉 CLICK HERE to Unlock 16,000+ DIY woodworking plans now
Conclusion
A small wooden planter box is an excellent way to bring greenery into compact spaces. With easy DIY construction, long-lasting benefits, and aesthetic appeal, it’s a must-have for any gardening enthusiast. Follow our step-by-step guide, customize it to your preference, and enjoy your mini garden. Whether you’re planting herbs for your kitchen, flowers for decor, or vegetables for a homegrown touch, a wooden planter box is the perfect addition to your small space!
👉 CLICK HERE to Unlock 16,000+ DIY woodworking plans now
