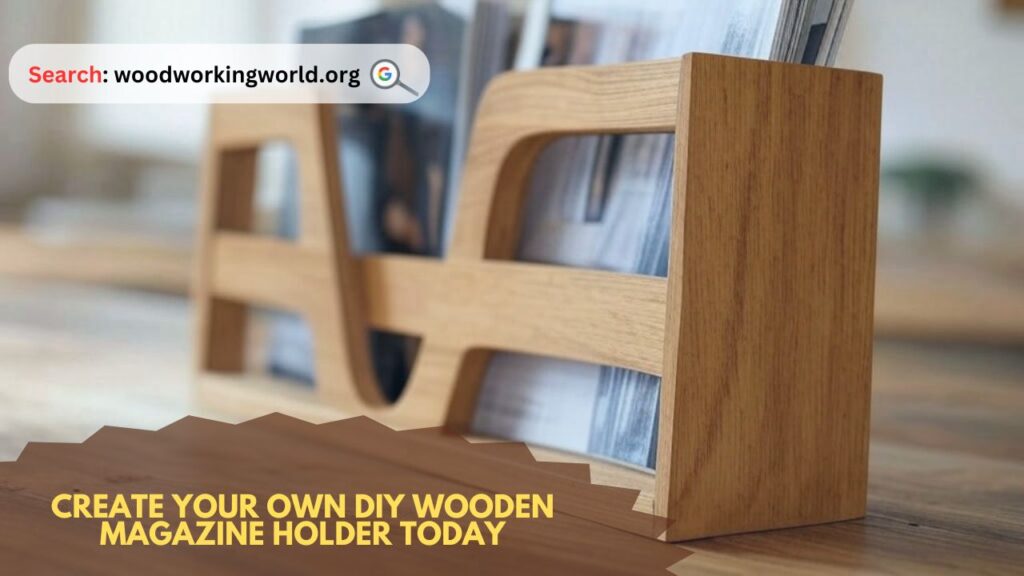
DIY wooden magazine holder: Easy, stylish, and budget-friendly! Follow our step-by-step guide to craft your own and keep your space organized.
Are you tired of cluttered magazines scattered around your living room? A DIY wooden magazine holder is the perfect solution to keep your reading materials organized while adding a stylish touch to your home decor. Building your own wooden magazine holder is a rewarding and cost-effective project that allows you to customize the design according to your preference.
In this guide, we’ll walk you through the step-by-step process of making a DIY wooden magazine holder, providing detailed instructions, a comparison of materials, useful tips, and answers to common questions. Whether you are a beginner or an experienced DIYer, this project is both manageable and enjoyable.
Materials and Tools Needed
Before starting, gather the necessary materials and tools to ensure a smooth workflow.
Materials:
- Plywood or solid wood (dimensions depend on your design)
- Wood glue
- Wood screws or nails
- Sandpaper (120- and 220-grit)
- Wood stain or paint
- Wood sealer
Tools:
- Saw (hand saw, jigsaw, or table saw)
- Measuring tape
- Pencil and ruler
- Drill and drill bits
- Clamps
- Paintbrush or rag (for staining/painting)
- Screwdriver or hammer
👉 Build 16,000+ Projects with Step-by-Step Plans—No Big Workshop or Costly Tools Needed! Start Now!
Step-by-Step Guide
Step 1: Designing Your Magazine Holder
The first step is to determine the dimensions and style of your magazine holder. Consider the number of magazines you want to store and the available space. Sketch your design on paper or use design software to visualize your project.
Common dimensions:
- Width: 10-12 inches
- Height: 12-15 inches
- Depth: 5-8 inches
Step 2: Cutting the Wood Pieces
Using your measurements, cut the following pieces:
- Two side panels (matching the desired height and depth)
- One bottom piece (width matching your design)
- One back panel (same width as the bottom, height as desired)
- One front panel (optional, depending on your design preference)
Ensure all cuts are smooth and precise to facilitate easy assembly.
Step 3: Sanding the Wood
Sand each piece thoroughly using 120-grit sandpaper, followed by 220-grit for a smoother finish. This step is essential to remove rough edges and prepare the surface for staining or painting.
Step 4: Assembling the Holder
- Apply wood glue to the edges where pieces join.
- Use clamps to hold pieces together firmly.
- Secure with screws or nails for added strength.
- Allow the glue to dry as per the manufacturer’s recommendations.
Step 5: Finishing Touches
- Apply wood stain or paint based on your preference.
- Let it dry completely before applying a wood sealer for durability.
- Optionally, add handles or decorative elements to enhance aesthetics.
Expert tips on Woodworking 🌿📦 Watch now!

Material Comparison Table
| Material | Pros | Cons |
|---|---|---|
| Plywood | Affordable, lightweight, easy to cut | Less durable, may warp over time |
| Solid Wood | Durable, aesthetic appeal, customizable | More expensive, heavier |
| MDF | Smooth surface, budget-friendly | Not water-resistant, prone to sagging |
Tips for Success
- Always measure twice and cut once to avoid mistakes.
- Use clamps to keep pieces in place while drying.
- Choose a high-quality finish to enhance durability and appearance.
- Customize with stencils, carvings, or patterns for a unique touch.
“Woodworking is not about what you make, but how you make it.” – Unknown
FAQ Section
1. How long does it take to complete this project?
It typically takes 2-3 hours, excluding drying time for paint or stain.
2. Can I make this without power tools?
Yes! You can use a handsaw and manual screwdriver, though it may take longer.
3. What type of wood is best for a magazine holder?
Solid wood like oak or pine is great for durability, while plywood works well for budget-friendly projects.
4. How can I make my magazine holder more stylish?
You can add decorative carvings, stencils, or paint it in a color that complements your decor.
5. Is this a beginner-friendly project?
Yes! With basic tools and careful measurements, even beginners can successfully complete it.
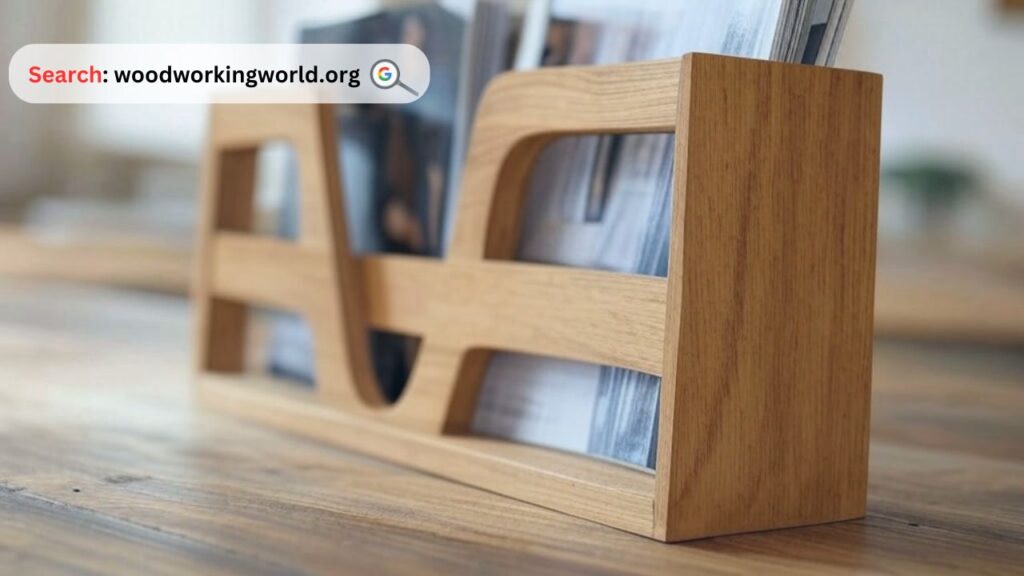
Conclusion
Creating your own DIY wooden magazine holder is a fantastic way to organize your reading materials while expressing your creativity. This budget-friendly project enhances your woodworking skills and allows for endless customization. Follow this step-by-step guide, experiment with designs, and build a unique piece that suits your space. Start today and enjoy the satisfaction of crafting something beautiful with your own hands!
👉 Click To Order Teds Woodworking With A 60-Money-back Guarantee From – Official Website