Display keepsakes beautifully with shadow box frames! Learn creative ideas to showcase memories, protect treasures, and add charm to your decor.
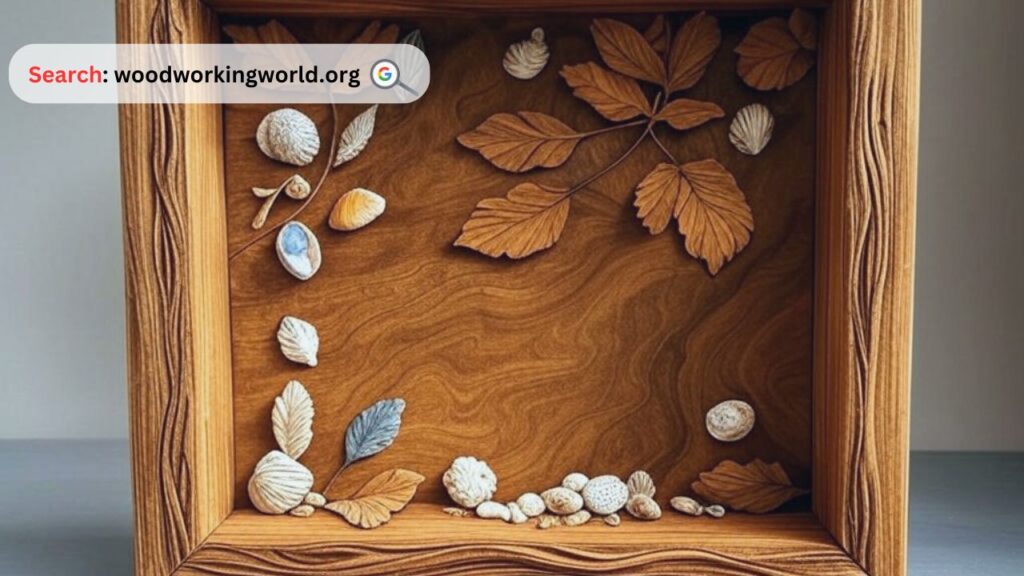
Preserving memories and sentimental keepsakes is a meaningful way to cherish moments and celebrate life events. One of the best ways to display treasured items while protecting them from dust and damage is through shadow box frames. These deep-set frames provide a beautiful, three-dimensional display for everything from family heirlooms and travel souvenirs to sports memorabilia and wedding mementos.

In this guide, we will explore how to effectively use shadow box frames, a step-by-step process to create your display, a comparison of different frame types, and essential tips for maximizing their aesthetic and protective qualities. Whether you are a seasoned DIY enthusiast or a beginner looking to enhance your home decor, this article will help you make the most of shadow box frames.
Why Use a Shadow Box Frame?
Shadow box frames offer several advantages over traditional picture frames:
- Depth & Dimension – Unlike flat frames, shadow boxes create a 3D effect that highlights objects.
- Protection – They shield keepsakes from dust, moisture, and UV light, preventing deterioration.
- Customization – Available in various sizes, colors, and materials to suit different styles.
- Versatility – Perfect for showcasing anything from medals and flowers to baby clothes and collectibles.
- Sentimental Value – Displaying meaningful items enhances emotional connections and storytelling.
Build 16,000+ Projects with Step-by-Step Plans—No Big Workshop or Costly Tools Needed! Start Now!
Step-by-Step Guide to Creating a Shadow Box Display
Step 1: Gather Materials
To create your shadow box display, you’ll need:
- A shadow box frame (size depending on your display items)
- Items to display (photos, keepsakes, fabrics, souvenirs, etc.)
- Background material (fabric, patterned paper, painted surface, etc.)
- Adhesives (glue, double-sided tape, pins, or Velcro strips)
- Scissors, ruler, and craft knife
- Decorative elements (ribbons, stickers, labels, etc.)
Step 2: Choose Your Theme
Consider the purpose of your shadow box. Common themes include:
- Wedding memories (bouquet flowers, invitations, rings, photos)
- Baby keepsakes (first shoes, hospital bracelet, ultrasound pictures)
- Sports memorabilia (jersey, medals, tickets, trading cards)
- Travel souvenirs (maps, postcards, foreign currency, small trinkets)
- Family heirlooms (vintage jewelry, handwritten notes, antiques)
Step 3: Plan the Layout
Before attaching anything, arrange your items inside the frame:
- Place larger items first as a focal point.
- Layer smaller items around for balance.
- Use contrasting backgrounds to make objects stand out.
- Take a photo of the arrangement before securing anything.
Step 4: Secure the Items
Depending on your items’ weight and fragility, use different adhesives:
- Light objects – Double-sided tape or glue dots
- Heavier objects – Velcro strips or sewing (for fabrics)
- Fragile objects – Mount with foam backing to add dimension
- Paper elements – Pin or glue carefully to avoid damage
Step 5: Assemble the Frame
Once all items are secure:
- Ensure everything is aligned and intact.
- Close the shadow box securely.
- Clean the glass to remove fingerprints or dust.
Step 6: Display Your Shadow Box
Choose the right location:
- Hang on a wall using sturdy brackets.
- Place on a shelf or tabletop for easy access.
- Use soft lighting to highlight intricate details.
Expert tips on Woodworking 🌿📦 Watch now!

Comparison Table: Types of Shadow Box Frames
| Feature | Wood Shadow Box | Metal Shadow Box | Acrylic Shadow Box |
|---|---|---|---|
| Material | Solid wood, MDF | Aluminum, steel | Clear acrylic |
| Durability | High | Very high | Moderate |
| Customization | Paint/stain-friendly | Sleek, modern finishes | Transparent for 360° views |
| Best for | Vintage, rustic decor | Contemporary, industrial look | Minimalist displays |
| Cost | Moderate to high | High | Affordable to moderate |
Tips for a Stunning Shadow Box Display
- Use a balanced color scheme to enhance visual appeal.
- Incorporate lighting such as LED strips for added elegance.
- Label objects with small tags to provide context.
- Keep it clutter-free to avoid overcrowding.
- Experiment with textures by layering different materials.
“A picture is worth a thousand words, but a shadow box tells a story beyond the frame.” – Anonymous
Frequently Asked Questions (FAQs)
1. What size shadow box should I use?
The size depends on the number and dimensions of items you plan to display. Common sizes range from 8×10 inches to 24×36 inches.
2. Can I use a shadow box for fragile items?
Yes! Ensure fragile items are secured with foam mounts or museum-quality adhesives to prevent shifting.
3. How do I clean a shadow box frame?
Use a microfiber cloth for dusting and glass cleaner for smudges. Avoid excess moisture to protect enclosed items.
4. Where can I buy shadow box frames?
They are available at craft stores, home decor retailers, and online marketplaces like Amazon and Etsy.
5. Can I change the contents of my shadow box?
Yes, many shadow boxes have removable backs or front panels for easy updates.
Conclusion
Shadow box frames provide a timeless and creative way to preserve and display cherished memories. Whether used for personal storytelling, home decor, or gifting purposes, they offer a versatile and meaningful way to showcase life’s special moments. By following the steps outlined in this guide, you can craft a beautiful, long-lasting display that keeps your most treasured keepsakes safe while adding aesthetic value to any space.
Click To Order Teds Woodworking With A 60-Money-back Guarantee From – Official Website