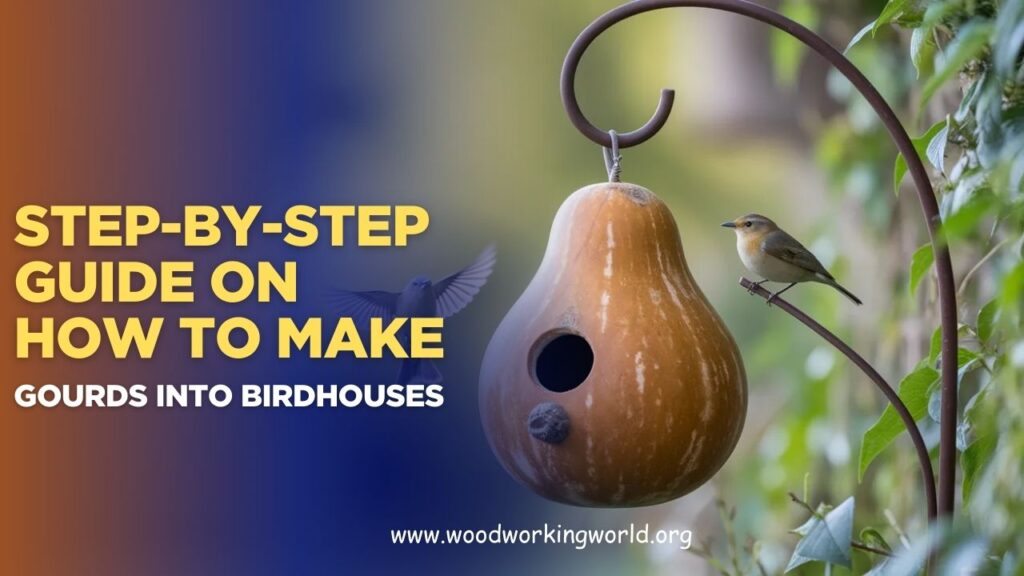
Step-by-Step Guide on How to Make Gourds Into Birdhouses
Turning natural gourds into charming birdhouses is a fun, affordable DIY project that brings beauty to your yard and provides a cozy home for local birds. Whether you’ve grown your own gourds or picked some up at a market, transforming them into functional birdhouses is easier than it looks—once you know the right steps. From cleaning and curing to drilling, decorating, and hanging, every stage plays a key role in creating a safe and welcoming space for your feathered visitors.
In this step-by-step guide, you’ll learn exactly how to turn gourds into durable, bird-friendly houses. We’ll walk you through the tools you need, the preparation process, design ideas, and essential tips to ensure your finished birdhouse is both beautiful and practical. Whether you’re a beginner or a seasoned crafter, this guide will help you create charming gourd birdhouses with confidence.
👉 CLICK HERE to Unlock 16,000+ DIY woodworking plans now
Why Use Gourds for Birdhouses?
Before diving into the steps, it’s important to understand the advantages of using gourds for birdhouses:
1. Natural and Eco-Friendly
Gourds are a biodegradable and sustainable option that blends beautifully with natural surroundings.
2. Ideal Shape and Size
The hollow interior and round shape of gourds provide a perfect nesting space for small bird species.
3. Durable and Long-Lasting
When properly dried and sealed, gourd birdhouses can withstand outdoor elements for years.
👉 CLICK HERE to Unlock 16,000+ DIY woodworking plans now
4. Customizable
Gourds can be painted, carved, or decorated to match your garden aesthetic.
Quote: “Creating gourd birdhouses not only benefits birds but also adds a touch of rustic charm to your garden.”
Step 1: Select and Harvest the Right Gourds
The first step is choosing the right type of gourd for your birdhouse project.
Recommended Gourd Varieties:
- Birdhouse Gourds (Lagenaria siceraria): These are the most popular choice due to their ideal size and shape.
- Kettle Gourds: Offer a slightly wider base, suitable for larger birds.
- Cannonball Gourds: Perfect for smaller bird species like wrens and chickadees.
Harvesting Tips:
- Harvest gourds in late fall when the stems turn brown and dry.
- Leave a few inches of stem attached to the gourd to prevent rot.
- Avoid picking gourds that are damaged or show signs of mold.
Step 2: Dry and Cure the Gourds
Proper drying and curing are essential to ensure your gourds are durable and ready for crafting.
Drying Process:
- Clean the Surface: Wipe the gourds with a damp cloth to remove dirt and debris.
- Air Dry: Place the gourds in a well-ventilated, dry area. Ensure they are not touching each other to prevent mold growth.
- Monitor Regularly: Check for signs of rot or mold. Discard any spoiled gourds.
Curing Time:
- Gourds typically take 2 to 3 months to fully dry.
- You’ll know they are ready when they feel light, and the seeds rattle inside.
Tip: Speed up the drying process by placing the gourds near a fan or in a warm, dry location.
Step 3: Prepare the Gourd for Crafting
Once your gourds are dried, it’s time to clean and prepare them for transformation.
Materials Needed:
- Sandpaper (medium and fine grit)
- Bleach solution (1 part bleach to 9 parts water)
- Scrubbing brush
- Gloves
Steps:
- Clean the Exterior: Scrub the surface with a bleach solution to remove any mold or residue.
- Sand the Surface: Use medium-grit sandpaper to smooth rough spots, then switch to fine-grit for a polished finish.
- Cut the Entrance Hole:
- Mark the location for the hole using a pencil.
- Drill or cut a hole using a hole saw attachment.
- Recommended hole sizes:
- Wrens: 1 inch
- Chickadees: 1 1/8 inch
- Bluebirds: 1 1/2 inch
- Remove the Seeds: Shake out loose seeds and debris through the hole.
- Clean the Interior: Use a wire brush or scraper to remove remaining pulp.


Step 4: Apply a Protective Finish
Sealing the gourd ensures that your birdhouse can withstand outdoor conditions.
Materials Needed:
- Non-toxic wood sealer or clear polyurethane
- Paintbrush
Steps:
- Apply the Sealant: Coat the exterior and interior of the gourd with a non-toxic sealer.
- Allow to Dry: Let the sealant dry completely before proceeding.
- Optional: Apply a second coat for added protection.
Tip: Avoid using toxic chemicals or strong-smelling sealants that could harm birds.
Step 5: Decorate the Gourd (Optional)
Adding decorations can make your birdhouse a charming addition to your garden.
Decoration Ideas:
- Painting: Use non-toxic, outdoor-safe paints in natural or vibrant colors.
- Carving: Create intricate patterns using a wood-burning tool.
- Stencils: Add floral or geometric designs.
- Natural Elements: Glue on twigs, moss, or bark for a rustic look.
Painting Tips:
- Avoid painting the entrance hole or interior.
- Use a matte or satin finish to reduce glare.
- Seal painted surfaces with a clear, non-toxic topcoat.
Step 6: Install Hanging Hardware
Proper installation ensures that your birdhouse is secure and accessible.
Materials Needed:
- Eye hook or screw
- Drill
- Rope or chain
Steps:
- Drill a Pilot Hole: Create a small hole at the top of the gourd.
- Insert the Eye Hook: Screw the hook securely into the hole.
- Attach Rope or Chain: Ensure the hanging material is strong and weather-resistant.
Step 7: Hang the Birdhouse
Choosing the right location is essential for attracting birds and keeping them safe.
Best Locations:
- Trees: Hang birdhouses from sturdy branches.
- Poles: Mount birdhouses on poles with predator guards.
- Under Eaves: Provide shelter from rain and direct sunlight.
Height Recommendations:
- Wrens and Chickadees: 4 to 6 feet
- Bluebirds: 5 to 7 feet
- Purple Martins: 10 to 15 feet
Tip: Ensure the birdhouse is stable and not swaying excessively.
Step 8: Maintain the Gourd Birdhouse
Regular maintenance keeps the birdhouse clean and safe for future occupants.
Maintenance Tips:
- Clean Annually: Remove old nests and debris at the end of the breeding season.
- Inspect for Damage: Check for cracks or signs of wear.
- Reapply Sealant: Refresh the protective coating as needed.
- Store During Harsh Weather: Bring the birdhouse indoors during extreme winter conditions.
FAQs
1. How long do gourd birdhouses last?
With proper care and maintenance, gourd birdhouses can last several years.
2. Can I use any type of gourd for a birdhouse?
Birdhouse gourds are the best choice due to their size and durability. Other types may work but may not be as suitable.
3. How do I prevent predators from accessing the birdhouse?
Install predator guards and hang the birdhouse at an appropriate height.
4. Can I paint my gourd birdhouse?
Yes, but use non-toxic, weather-resistant paints and avoid painting the interior.
5. What birds are attracted to gourd birdhouses?
Wrens, chickadees, bluebirds, and purple martins are common visitors.
👉 CLICK HERE to Unlock 16,000+ DIY woodworking plans now
Conclusion
Making gourd birdhouses is a rewarding and creative way to support local bird populations while beautifying your garden. By following these step-by-step instructions and incorporating best practices for maintenance, you’ll create a safe and attractive nesting space that birds will love. So gather your gourds, unleash your creativity, and enjoy the delightful sights and sounds of birds in your backyard.
👉 CLICK HERE to Unlock 16,000+ DIY woodworking plans now
