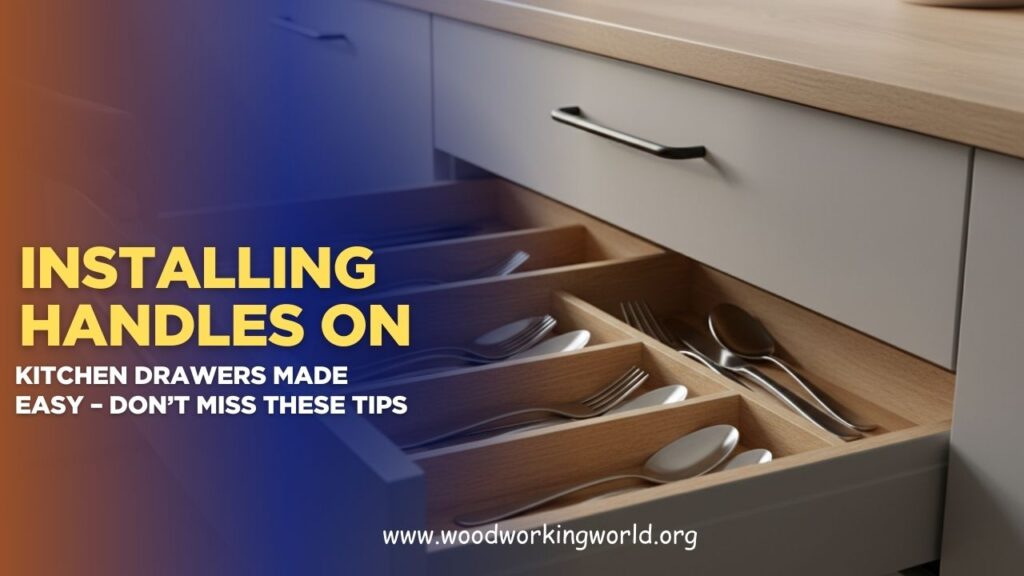
Installing Handles on Kitchen Drawers Made Easy – Don’t Miss These Tips
Installing handles on kitchen drawers may seem like a small task, but it can significantly impact the overall look and functionality of your kitchen. Whether you’re updating old cabinetry or adding hardware to new drawers,
this guide will walk you through the entire process with practical tips, essential tools, and expert advice.
👉 CLICK HERE to Unlock 16,000+ DIY woodworking plans now
Why Install Handles on Kitchen Drawers?
1. Enhanced Functionality
- Handles make it easier to open and close drawers, especially when your hands are wet or greasy.
2. Improved Aesthetics
- Well-chosen handles can elevate the look of your kitchen, adding a touch of style and personality.
3. Increased Durability
- Handles help prevent wear and tear on the surface of the drawer by reducing direct contact.
👉 CLICK HERE to Unlock 16,000+ DIY woodworking plans now
Tools and Materials You’ll Need
| Tool/Material | Purpose |
|---|---|
| Drill | Create holes for handle screws |
| Screwdriver | Tighten screws |
| Measuring Tape | Measure precise distances |
| Pencil | Mark drill points |
| Level | Ensure handles are straight |
| Masking Tape | Prevent wood splintering |
| Hardware Template (Optional) | Ensure uniform placement |
| Handles and Screws | Hardware for installation |
Step-by-Step Installation Guide
Step 1: Choose the Right Handles
- Style Tip: Match the handles with your kitchen’s design. For modern kitchens, sleek and minimalist handles work best, while traditional kitchens benefit from ornate designs.
- Size Tip: Ensure the size of the handle is proportionate to the size of the drawer.
Step 2: Mark the Placement
- Measure the width and height of the drawer front.
- Mark the center point where the handle will be installed.
- Use a hardware template for consistent placement on all drawers.
Pro Tip: Place handles horizontally on drawers and vertically on cabinet doors for a balanced look.
Step 3: Prepare for Drilling
- Apply masking tape over the marked drill points to prevent wood splintering.
- Double-check the measurements before drilling.
Safety Tip: Wear safety goggles to protect your eyes from wood dust.
Step 4: Drill Holes
- Use a drill bit that matches the size of your handle screws.
- Drill straight and steady through the marked points.
Pro Tip: Drill slowly to maintain control and accuracy.
Step 5: Attach the Handles
- Insert the screws through the back of the drawer.
- Align the handle and tighten the screws using a screwdriver.
Note: Avoid over-tightening as it can damage the handle or drawer surface.


Step 6: Test the Handles
- Open and close the drawers to ensure the handles are secure and aligned.
- Make any necessary adjustments.
Final Tip: Check that all handles are level and evenly spaced.
Common Mistakes to Avoid
1. Skipping Measurements
- Inconsistent handle placement can ruin the look of your kitchen.
2. Using the Wrong Drill Bit
- A drill bit that is too large can create loose screw holes.
3. Over-Tightening Screws
- This can damage the drawer front or cause the handle to break.
4. Forgetting to Test Handle Placement
- Testing ensures that the handles are functional and properly aligned.
👉 CLICK HERE to Unlock 16,000+ DIY woodworking plans now
FAQs
1. Can I install handles without a drill?
- Yes, but using a drill makes the process faster and more accurate. Manual screwdrivers can work for softer wood.
2. How do I choose the right handle size?
- Measure the width of the drawer and choose a handle that is about one-third of its width.
3. What if I make a mistake while drilling?
- Fill the hole with wood filler, let it dry, sand it smooth, and re-drill in the correct spot.
4. Should all kitchen handles match?
- Not necessarily. Mixing handle styles can create visual interest, but they should share a common design element for cohesion.
5. How do I maintain the handles?
- Regularly clean them with a damp cloth and avoid abrasive cleaners that can damage the finish.
Inspirational Quote
“Small details make a big difference—especially in your kitchen. A simple handle upgrade can transform the entire space.”
Conclusion
Installing handles on kitchen drawers is a simple DIY project that can dramatically improve your kitchen’s look and functionality. With the right tools, careful measurements, and attention to detail, you can achieve a professional-quality installation. Start today and enjoy the satisfaction of a beautifully updated kitchen!
👉 CLICK HERE to Unlock 16,000+ DIY woodworking plans now
