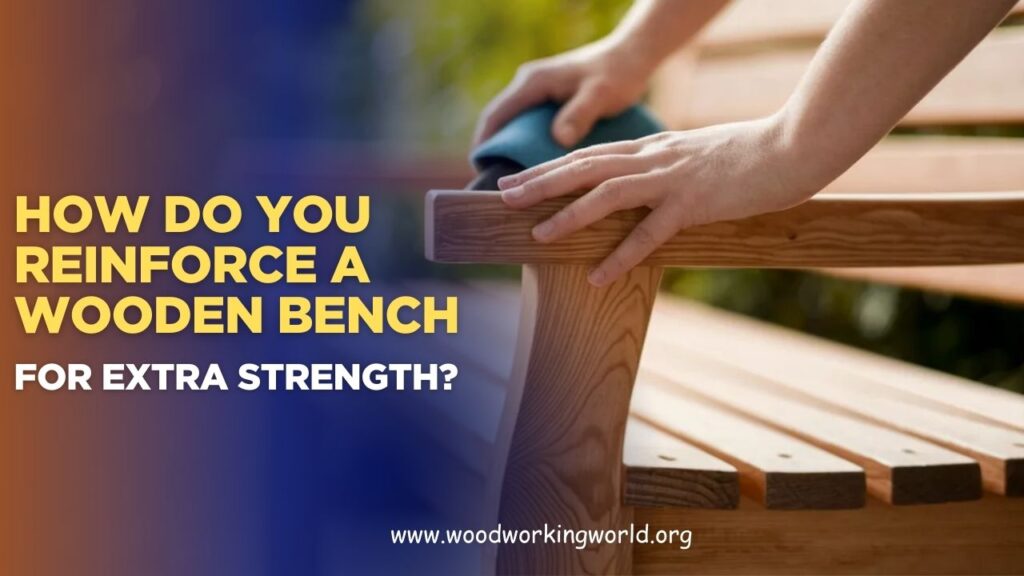
How do you reinforce a wooden bench for extra strength?
When a wooden bench begins to wobble, flex, or feel less sturdy than it should, reinforcement is often the best solution instead of replacement. Benches that see regular use—indoors or outdoors—can weaken over time due to joint stress, weight load, or weather exposure, making extra support essential for safety and longevity.
In this guide, you’ll learn practical and effective ways to reinforce a wooden bench for extra strength, including improving joint stability, adding structural supports, and using the right fasteners and materials to ensure your bench remains strong, stable, and built to last.
👉 CLICK HERE to Unlock 16,000+ DIY woodworking plans now
Why Wooden Benches Need Reinforcement
Even solid wood benches can experience structural stress because of:
- Daily weight load: Sitting, leaning, or placing heavy objects can stress joints.
- Wood movement: Expansion and contraction due to humidity and temperature changes.
- Weak joints: Nails, screws, or glue may loosen over time.
- Thin boards or long spans: Bench seats longer than 4 feet may sag in the middle without proper support.
Reinforcing your bench prevents accidents, extends lifespan, and improves overall stability, making it safer for daily use.
👉 CLICK HERE to Unlock 16,000+ DIY woodworking plans now
Tools and Materials Needed
Tools:
- Drill and screwdriver
- Measuring tape
- Saw (hand or power saw)
- Clamps
- Level
- Sandpaper
Materials:
- Wood screws or lag bolts
- Wood glue
- Corner blocks or triangular braces
- Metal brackets (optional)
- Extra wood for cross braces or center supports
Pro Tip: Use hardwood for reinforcement pieces when possible — it’s stronger and less likely to warp.
Step 1: Inspect Your Bench
Before reinforcing, assess the current structure:
- Check for loose joints, cracks, or splits in the seat or legs.
- Test for wobbling by pressing gently on different areas.
- Identify weak points — corners, center, and long spans are typically the first to need support.
Pro Tip: Repair any visible cracks or splits before adding reinforcements.
Step 2: Reinforce Weak Joints with Corner Blocks
Corner blocks are triangular wood pieces that strengthen connections between the seat and legs:
- Measure the inside corner between the leg and seat.
- Cut a triangle-shaped block to fit snugly.
- Apply wood glue to the surfaces that touch the seat and leg.
- Clamp in place and secure with screws.
Pro Tip: Use multiple blocks on larger benches to distribute stress evenly.
Step 3: Add Cross Bracing
Cross braces prevent wobbling and twisting:
- Diagonal braces: Attach at an angle from each leg to the underside of the bench seat.
- Horizontal braces: For longer benches, a horizontal board running between the legs adds extra stability.
- Use screws or metal brackets to attach securely.
Pro Tip: Ensure braces are flush with the bench underside to maintain a clean look and avoid tripping hazards.
Step 4: Install a Center Support
Long benches are prone to sagging in the middle. Adding a center leg or support beam solves this problem:
- Measure the midpoint of the bench seat.
- Cut a leg or beam to the proper height.
- Attach securely with screws or brackets.
- Ensure the new support is level with the existing legs.
Pro Tip: For extra reinforcement, attach the center support to a cross brace that connects to the side legs.
Step 5: Upgrade Fasteners
Old nails or short screws often fail under heavy use. Strengthen your bench by:
- Replacing nails with wood screws or lag bolts.
- Adding metal corner brackets at critical joints.
- Using longer fasteners that fully penetrate both components for maximum holding power.
Pro Tip: Pre-drill holes to prevent the wood from splitting when adding larger screws or bolts.
🛠️ Ted’s 16,000 Woodworking Plans – Why You’ll Love It


Step 6: Reinforce the Seat Board
If your bench seat is thin, it may flex under weight. Reinforce it by:
- Adding a thicker board on top of the existing seat.
- Installing lengthwise support beams underneath the seat.
- Ensuring all reinforcements are flush and securely fastened.
Pro Tip: Use hardwood for added boards to prevent bowing over time.
Step 7: Finishing Touches
- Sand any rough edges created during reinforcement.
- Apply a finish (paint, stain, or protective oil) to seal new wood and exposed screws.
- Inspect your bench for wobbling or unevenness.
- Gradually test with weight before placing heavier objects.
Pro Tip: A smooth finish also prevents splinters and improves aesthetics.
Optional Enhancements
- Metal corner brackets: Provide modern reinforcement and style.
- Decorative braces: Use exposed wood or contrasting stains to enhance design.
- Rubber or felt feet: Protect floors and reduce movement.
- Adjustable center supports: Ideal for benches used for heavy-duty tasks or workshops.
These enhancements can combine function and style for a stronger, more durable bench.
Common Mistakes to Avoid
❌ Ignoring weak joints — leads to continued wobbling.
❌ Overloading screws — can split the wood.
❌ Skipping pre-drilling — increases the risk of cracks.
❌ Reinforcing only corners — long benches also need center support.
❌ Using softwood for critical support pieces — may not hold weight over time.
Avoiding these mistakes ensures your bench is safe, stable, and long-lasting.
FAQs: Reinforcing Wooden Benches
1. Can I reinforce a bench without removing the seat?
- Yes, many reinforcements (corner blocks, braces, center supports) can be added from underneath without disassembly.
2. How much weight can a reinforced bench hold?
- Depending on wood type, fasteners, and reinforcements, most benches can safely hold 300–500 pounds or more.
3. Is it better to use wood or metal braces?
- Both work; wood blends naturally, while metal offers higher strength and a modern look.
4. How do I prevent future wobbling?
- Regularly inspect screws and joints, tighten if necessary, and avoid overloading the bench.
5. Can I reinforce a bench with glued joints only?
- Glue helps, but combining it with screws, bolts, or braces ensures maximum strength.
👉 CLICK HERE to Unlock 16,000+ DIY woodworking plans now
Final Verdict: Build a Bench That Lasts
Reinforcing a wooden bench is not just about adding support — it’s about safety, longevity, and comfort. By following these expert steps, you can transform a wobbly, fragile bench into a sturdy, reliable piece of furniture for home, patio, or workshop use.
Key Takeaways:
✔ Inspect and repair weak joints first
✔ Use corner blocks and cross braces for stability
✔ Add center supports for long benches
✔ Upgrade fasteners to screws, bolts, or metal brackets
✔ Use quality hardwood for reinforcements
✔ Finish and maintain regularly to prevent wear
👉 Pro Tip: Always test the bench gradually with weight after reinforcement to ensure safety and balance before regular use.
With these techniques, your wooden bench will not only look great but stand the test of time — providing reliable seating for years to come.
👉 CLICK HERE to Unlock 16,000+ DIY woodworking plans now
