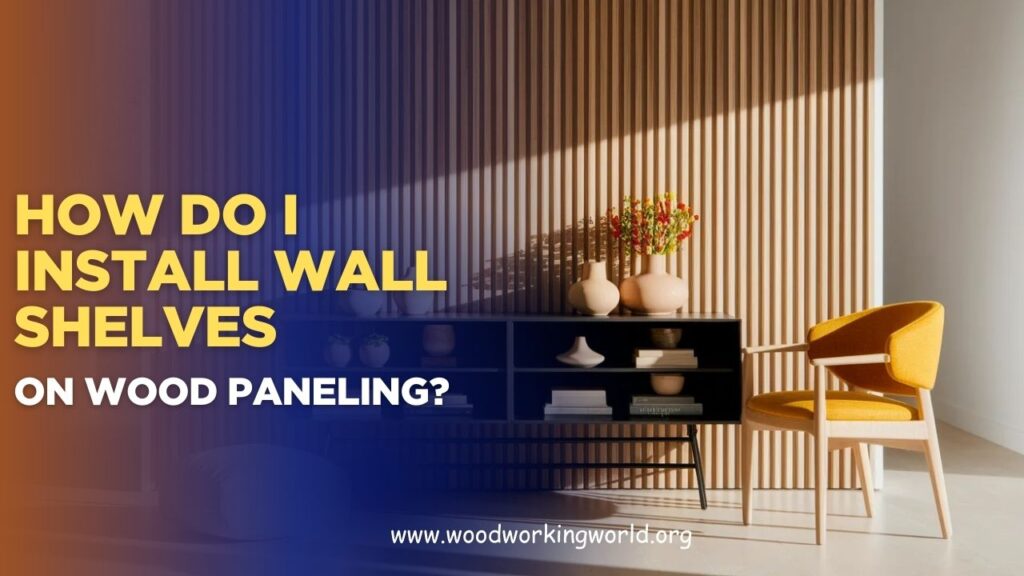
How do I install wall shelves on wood paneling?
Wondering how to add storage or décor without damaging your walls? How do I install wall shelves on wood paneling? is a common question for homeowners who want to enhance their space while keeping the paneling intact and secure. Wood paneling can look great—but installing shelves on it requires the right approach to ensure stability and avoid cracks or loose mounts.
The good news is that with the proper tools, anchors, and techniques, installing wall shelves on wood paneling is easier than you might think. In this guide, we’ll break down the safest and most effective methods, what to watch out for, and step-by-step tips to help you mount shelves confidently and correctly.
👉 CLICK HERE to Unlock 16,000+ DIY woodworking plans now
Why Installing Shelves on Wood Paneling Requires Special Care
Wood paneling differs from drywall in a few key ways:
- Thickness: Many panels are thinner than drywall and may not hold heavy screws without reinforcement.
- Stud placement: Studs may be hidden behind paneling, requiring accurate detection.
- Splitting risk: Wood paneling can split if screws are over-tightened or holes are drilled incorrectly.
- Aesthetics: Screws and anchors can damage the panel’s appearance if not carefully planned.
Proper installation ensures your shelves are safe, durable, and visually appealing, whether for books, décor, or storage.
👉 CLICK HERE to Unlock 16,000+ DIY woodworking plans now
Tools and Materials Needed
Tools:
- Stud finder
- Level
- Tape measure
- Pencil or chalk for marking
- Drill with wood and masonry bits
- Screwdriver or impact driver
- Sandpaper (optional, for smoothing panel edges)
Materials:
- Wall brackets or floating shelf hardware
- Screws (length and type suitable for wood paneling)
- Anchors (toggle bolts or molly bolts for areas without studs)
- Shelf boards (wood, MDF, or acrylic)
- Optional: backing board or trim for added support
Pro Tip: Always choose hardware rated for the intended load and check that screws are long enough to penetrate studs when available.
Step 1: Plan Your Shelf Placement
- Measure the wall and determine shelf height and spacing.
- Consider the intended use: books, décor, or kitchen storage.
- Use a pencil to mark horizontal lines where brackets or mounts will go.
- For multiple shelves, measure vertical spacing consistently.
Pro Tip: A temporary paper template of your shelf can help visualize placement before drilling.
Step 2: Locate Studs Behind Paneling
- Use a stud finder to detect studs behind the wood panels.
- Mark each stud with a pencil.
- If studs don’t align with your desired shelf location, plan for anchors or adjust placement.
Pro Tip: Most studs are spaced 16–24 inches apart. Double-check marks for accuracy.
Step 3: Choose the Right Mounting Hardware
- Brackets: L-shaped metal brackets are easy for beginners and support moderate weight.
- Anchors:
- Toggle bolts or molly bolts for thin paneling areas without studs.
- Wood screws directly into studs offer maximum stability.
- Floating shelves: Use a mounting bracket or internal support rod system.
Pro Tip: Heavy shelves or bookshelves always perform best when anchored into studs.
Step 4: Pre-Drill Holes
- Pre-drilling prevents splitting and cracking.
- Use a drill bit slightly smaller than your screws.
- For anchors, follow the manufacturer’s instructions regarding hole size and depth.
- Ensure holes are level and evenly spaced for a professional look.
Pro Tip: Place a piece of scrap wood behind the drill bit to reduce blowout on thin paneling.
Step 5: Attach Brackets or Mounting Hardware
- Hold brackets in place, aligning screw holes with pre-drilled pilot holes or anchors.
- Use a level to ensure brackets are perfectly vertical.
- Tighten screws firmly but avoid over-tightening, which can damage paneling.
- For floating shelves, carefully slide the shelf onto the mounting bracket, following instructions.
Pro Tip: If your paneling is thin, consider a backing board behind brackets for extra strength.
Step 6: Mount the Shelf Board
- Place the shelf board on the brackets.
- Ensure it is centered and level.
- Secure the shelf with screws from underneath if your brackets allow it.
- Check for wobble or flex, adjusting screws or anchors as needed.
Pro Tip: Start with lightweight items to test stability before adding heavier objects.
Step 7: Finishing Touches
- Sand any rough edges or drill marks lightly with fine-grit sandpaper.
- Touch up screw holes with wood filler or paint to match the paneling.
- Clean the shelf and paneling surface to remove dust or fingerprints.
- Style your shelf with décor, books, or plants, but avoid overloading.
Pro Tip: Consider adding a trim or molding to hide screws and give a polished, built-in look.
🛠️ Ted’s 16,000 Woodworking Plans – Why You’ll Love It


Common Mistakes to Avoid
❌ Ignoring stud placement — shelves not anchored to studs may sag.
❌ Over-tightening screws — can split paneling or warp brackets.
❌ Skipping pre-drilling — increases the risk of cracks.
❌ Using inappropriate anchors — thin paneling may not hold standard drywall anchors.
❌ Overloading the shelf — even well-mounted shelves have weight limits.
FAQs: Wall Shelves on Wood Paneling
1. Can I install shelves without studs?
- Yes, but use heavy-duty toggle bolts or molly bolts for secure mounting.
2. How thick should wood paneling be for safe shelving?
- Paneling should ideally be ¾ inch or thicker to hold screws safely.
3. Can floating shelves be mounted on wood paneling?
- Absolutely, but ensure the internal support rod attaches to studs or a backing board.
4. What is the best type of shelf for paneling?
- Lightweight wood, MDF, or acrylic works well. Avoid very heavy stone or thick hardwoods without stud support.
5. How much weight can a shelf on paneling hold?
- Depends on panel thickness, anchors, and stud placement. Light to medium items are safest for thin paneling.
Pro Tips for Long-Lasting Wall Shelves
- Use a level at every stage — brackets and shelves must be perfectly horizontal.
- Consider a backing board — spreads the load and protects paneling from splitting.
- Distribute weight evenly — avoid placing all heavy items on one side.
- Select high-quality anchors and screws — inexpensive hardware may fail over time.
- Inspect periodically — tighten screws if shelves begin to loosen.
👉 CLICK HERE to Unlock 16,000+ DIY woodworking plans now
Final Verdict: Stylish, Secure, and Functional Wall Shelves
Installing shelves on wood paneling is completely achievable with the right planning and technique. By carefully measuring, locating studs, choosing hardware, and securing your shelves, you can create functional storage or stylish display areas without damaging your walls.
Key Takeaways:
✔ Plan placement and spacing before drilling
✔ Locate studs or use heavy-duty anchors for stability
✔ Pre-drill holes to prevent splitting
✔ Use a level for perfectly horizontal shelves
✔ Distribute weight and inspect regularly
👉 Pro Tip: Combine these steps with decorative shelf boards, trim, or floating designs for a modern, professional finish that enhances your home.
👉 CLICK HERE to Unlock 16,000+ DIY woodworking plans now
