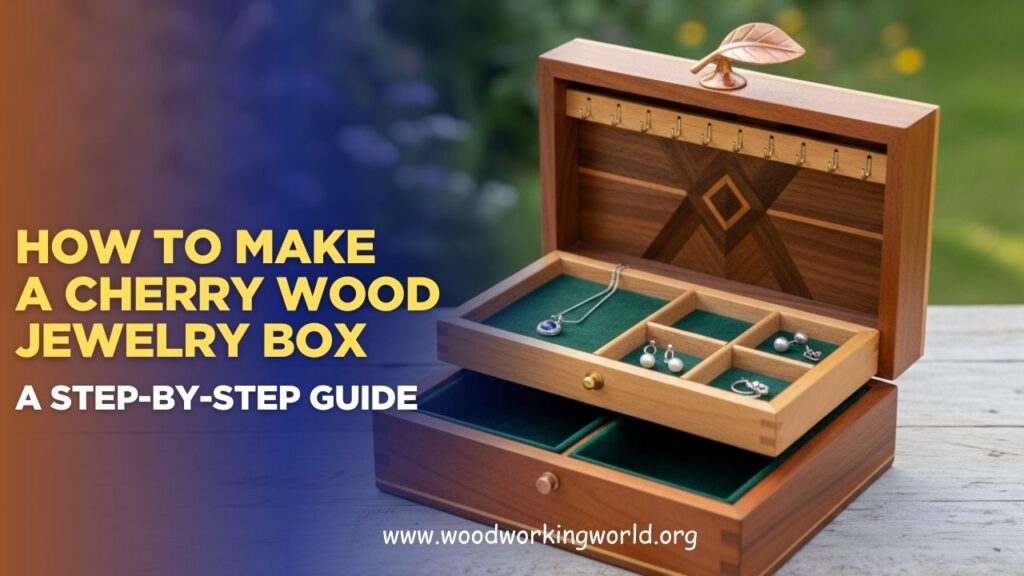
How to Make a Cherry Wood Jewelry Box: A Step-by-Step Guide
Cherry Wood Jewelry Box: Creating a cherry wood jewelry box is a fulfilling woodworking project that results in a beautiful, functional piece perfect for storing cherished items. This step-by-step guide will walk you through the process, from selecting materials to applying the final finish.
Whether you are a novice woodworker or have years of experience, this guide provides clear instructions to help you craft a stunning jewelry box.
👉 CLICK HERE to Unlock 16,000+ DIY woodworking plans now
Materials and Tools Needed to Make a Cherry Wood Jewelry Box
Materials:
- Cherry wood boards (1/2 inch thick)
- Plywood (for the bottom)
- Wood glue
- Sandpaper (various grits)
- Wood finish (oil, varnish, or lacquer)
- Hinges and clasp
- Velvet or felt (optional, for lining)
Tools:
- Table saw or circular saw
- Miter saw or handsaw
- Router or chisel (for joinery)
- Clamps
- Drill and bits
- Measuring tape or ruler
- Pencil
- Brush or cloth (for applying finish)
Step 1: Design and Measurement
Before cutting any wood, decide on the dimensions of your jewelry box. A common size is 10 inches long, 6 inches wide, and 4 inches high. Sketch your design, including the placement of hinges and the clasp. This step helps you visualize the final product and ensures all parts fit together.
Step 2: Cutting the Cherry Wood
Using a table saw or circular saw, cut the cherry wood into the following pieces:
- Two pieces for the front and back: 10 inches by 4 inches
- Two pieces for the sides: 6 inches by 4 inches
- One piece for the lid: 10 inches by 6 inches
- One piece for the base: 10 inches by 6 inches
Ensure all cuts are precise and the edges are straight. Use a miter saw or handsaw to achieve clean cuts if necessary.
👉 CLICK HERE to Unlock 16,000+ DIY woodworking plans now
Step 3: Creating Joinery
For a sturdy jewelry box, use dovetail joints or box joints. If you have a router, you can create dovetail joints using a dovetail jig. Alternatively, you can use a chisel and mallet to cut the joints by hand.
- Mark the joints on the front, back, and side pieces. Ensure the joints fit snugly together.
- Cut the joints carefully, taking your time to ensure accuracy. Test fit the pieces to ensure they join correctly without gaps.
Step 4: Assembling the Box
- Dry fit all pieces to ensure they fit together perfectly. Make any necessary adjustments.
- Apply wood glue to the joints and assemble the box. Use clamps to hold the pieces together tightly. Wipe away any excess glue with a damp cloth.
- Allow the glue to dry completely, typically for 24 hours.
Step 5: Preparing the Base
Cut a piece of plywood to fit the bottom of the box. This piece should be slightly smaller than the base to fit inside the sides.
- Apply glue to the edges of the plywood and insert it into the box.
- Clamp the box to secure the plywood and let the glue dry completely.


Step 6: Sanding
Sanding is crucial for a smooth, professional finish.
- Start with a coarse grit sandpaper (80-100 grit) to remove any rough spots or glue residue.
- Progress to finer grits (120, 220) to smooth the surface. Sand the entire box, including the lid.
- Finish with very fine grit sandpaper (320-400 grit) for a silky finish.
Step 7: Adding the Hinges and Clasp
- Mark the placement of the hinges on the back of the box and the lid. Ensure they are evenly spaced.
- Drill pilot holes for the screws. Attach the hinges to the lid and then to the box.
- Attach the clasp to the front of the box and the lid, marking and drilling pilot holes as necessary.
Step 8: Finishing the Box
The finish enhances the beauty of the cherry wood and protects it from damage.
- Choose a finish such as oil, varnish, or lacquer. Oil finishes (like Danish oil or tung oil) penetrate the wood and bring out its natural beauty. Varnish and lacquer provide a more durable, glossy finish.
- Apply the finish with a brush or cloth, following the manufacturer’s instructions. Apply multiple coats, allowing each coat to dry completely before applying the next. Sand lightly between coats with fine-grit sandpaper (320-400 grit) for a smooth finish.
- Allow the final coat to cure completely. This may take several days, depending on the finish used.
Step 9: Lining the Box (Optional)
For an added touch of luxury, line the inside of the jewelry box with velvet or felt.
- Measure and cut pieces of velvet or felt to fit the bottom, sides, and lid interior.
- Apply adhesive to the back of the fabric and press it into place. Smooth out any wrinkles or bubbles.
Tips for Success
- Take your time: Rushing through steps can lead to mistakes. Patience is key to achieving a high-quality result.
- Test fit: Always dry fit pieces before applying glue to ensure they fit together perfectly.
- Use sharp tools: Sharp blades and bits make cleaner cuts and reduce the risk of damaging the wood.
- Work in a well-ventilated area: Especially when applying finishes, ensure your workspace is well-ventilated to avoid inhaling fumes.
Conclusion: How to Make a Cherry Wood Jewelry Box
Crafting a cherry wood jewelry box is a rewarding project that results in a beautiful and functional item. By following these steps, you can create a box that showcases the natural beauty of cherry wood while providing a secure place for treasured items. With patience and attention to detail, your finished jewelry box will be a testament to your woodworking skills and a cherished heirloom for years to come.
I hope this article on How to Make a Cherry Wood Jewelry Box has been helpful. If you have any further questions, please feel free to leave a comment below.
👉 CLICK HERE to Unlock 16,000+ DIY woodworking plans now
