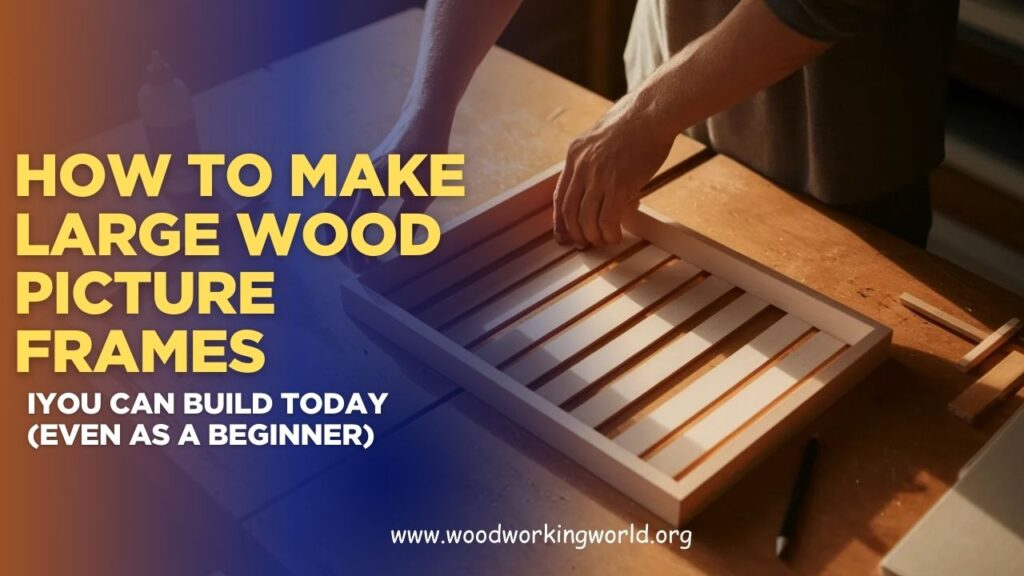
How to Make Large Wood Picture Frames: A Step-by-Step Guide
Struggling to find the perfect oversized frame for your artwork, photos, or home décor? Making your own large wood picture frame is becoming a popular DIY solution for beginners and hobbyists who want custom sizing, higher quality, and a more personal touch without the high price tag of store-bought frames. But is building a large frame really as simple as it sounds—or does it require special tools, skills, or techniques that most people don’t know?
In this complete step-by-step guide to making large wooden picture frames, we’ll walk you through the materials you need, essential measurements, cutting and assembly techniques, finishing options, cost-saving tips, and—most importantly—how to build a sturdy, beautiful frame even if you’re new to woodworking.
👉 CLICK HERE to Unlock 16,000+ DIY woodworking plans now
Why Build Your Own Large Wood Picture Frame?
Large frames can cost hundreds at retail. DIYing it not only saves you money—it gives you complete control over size, finish, and design.
Top Benefits of Building It Yourself:
- Customize dimensions for non-standard artwork or photos
- Match frame finish to your décor
- Learn valuable woodworking skills
- Use high-quality materials
- Save money and create something personal
And if you’re following Ted’s Woodworking, you’ll never feel lost. With over 16,000 plans, you can confidently build not just picture frames, but anything your home needs.
👉 CLICK HERE to Unlock 16,000+ DIY woodworking plans now
Tools & Materials You’ll Need
Tools:
- Miter saw (or miter box with hand saw)
- Measuring tape
- Carpenter’s square
- Wood glue
- Clamps
- Sandpaper or electric sander
- Wood filler (optional)
- Nail gun or finish nails & hammer
- Stain or paint
- Polyurethane (for sealing)
- Mounting hardware or hanging wire
Materials:
- 1×3 or 1×4 hardwood boards (poplar, oak, pine)
- Plywood or MDF backing (for large pieces)
- Glass or acrylic sheet (optional)
- Your artwork or photo


Step-by-Step: How to Make a Large Wood Picture Frame
Step 1: Measure Your Artwork
Measure the exact width and height of the image or artwork you want to frame. If you’re using a mat, factor that in too.
Pro Tip: Add ⅛” clearance to each side so the art fits easily.
Step 2: Choose and Cut Your Wood
Use 1×3 or 1×4 boards for your frame. For large frames, thicker widths offer more stability and presence.
Set your miter saw (or miter box) to 45° angles and cut two pairs of equal-length pieces—top/bottom and left/right. These will create a perfect rectangle when assembled.
Using Ted’s Woodworking? His plans will tell you exactly where to cut, saving guesswork and waste.
Step 3: Dry Fit the Frame
Before gluing, lay out the pieces on a flat surface to check the fit. Make sure all corners meet tightly. Adjust if needed.
If you have a carpenter’s square, use it to ensure perfect 90° angles.
Step 4: Glue & Clamp
Apply wood glue to the mitered corners and bring the frame together. Clamp it tightly—corner clamps or a band clamp work great for frames.
Let it dry for at least 30–60 minutes. Use a damp cloth to wipe off excess glue before it dries.
Optional: Add finish nails or brad nails through the corners for extra strength.
Step 5: Sand Smooth
Once dry, sand the frame using 120-grit, then 220-grit sandpaper for a smooth finish. Round over the edges slightly if you prefer a softer look.
Use wood filler to patch any gaps in the joints. Let dry, then re-sand.
Step 6: Add a Backing Slot (Optional)
For a professional finish, you can route a rabbet (groove) into the inner edge of the frame to hold glass, photo, and backing.
Don’t want to bother? No problem—just attach your backing with small nails or clips instead. Ted’s beginner-friendly plans often include both options.
Step 7: Paint or Stain the Frame
Now for the fun part—finishing your frame.
Staining? Apply wood conditioner first, then stain, and finish with 2–3 coats of polyurethane.
Painting? Use primer, then apply 2 coats of high-quality paint. Sand lightly between coats for a smooth finish.
Match your stain or paint color to your room’s theme. Floating above a sofa, brightening up a hallway, or anchoring a gallery wall—your frame can help define the space.
Step 8: Add Backing and Hanging Hardware
Cut a piece of MDF or plywood to size and attach your artwork to it. Add glazing (glass or acrylic) if you want protection.
Secure the backing into the frame using framer’s points, small nails, or clips. Then attach D-rings and hanging wire or sawtooth hangers to the back.
Step 9: Hang and Admire
You’ve just made a gorgeous large wood picture frame—by hand!
Hang it proudly and watch your room transform. You’ll get compliments not just on the photo or art, but on your craftsmanship.
Creative Customizations for Large Frames
Want to make your project stand out? Try these creative ideas:
- Rustic Look: Use reclaimed wood and skip sanding for a raw, textured finish.
- Modern Minimalist: Use crisp, painted hardwood with clean 90° edges.
- Farmhouse Vibe: Add distressing, chalk paint, and antique glaze.
- Gallery Wall Ready: Build multiple large frames in varying tones for a cohesive look.
With Ted’s Woodworking, you can experiment with countless frame styles, from chunky industrial to sleek mid-century.
Renter-Friendly Frame Mounting Tips
Worried about wall damage? Here’s how to hang large frames without ruining your walls:
- Use Command™ picture hanging strips (rated for weight)
- Hang from a molded picture rail if your rental has one
- Lean the frame on shelves or from a dresser
- Use removable hooks with anchors for heavy frames
You don’t need to sacrifice style just because you’re renting. Ted’s plans often include smart wall-mounting solutions perfect for temporary spaces.
Why Ted’s Woodworking Is Perfect for DIY Frames
Ted’s Woodworking isn’t just for expert carpenters. It’s made for beginners, renters, hobbyists, and serious makers alike.
With over 16,000 plans—including wall frames, shadow boxes, floating shelves, and furniture—you’ll always have something new to create.
Here’s what makes it stand out:
- Instant access to detailed, downloadable plans
- Perfect for small or large projects
- Step-by-step instructions with diagrams
- Great for people working from home or in small spaces
- Full support and bonuses included
👉 CLICK HERE to Unlock 16,000+ DIY woodworking plans now
Conclusion: Frame Your Story With Wood You Built
Building your own large wood picture frame is more than just a project—it’s a chance to showcase your art and your skills. Whether you’re decorating your home, crafting a gift, or creating a gallery wall, your handmade frame will stand out.
And with Ted’s Woodworking at your side, it’s easier than ever.
🎯 Ready to Start Building?
✅ Get 16,000+ woodworking plans here → Ted’s Woodworking Official Site
✅ Perfect for beginners and pros
✅ Build furniture, decor, organizers, gifts & more
✅ Save thousands in furniture costs
👉 CLICK HERE to Unlock 16,000+ DIY woodworking plans now
