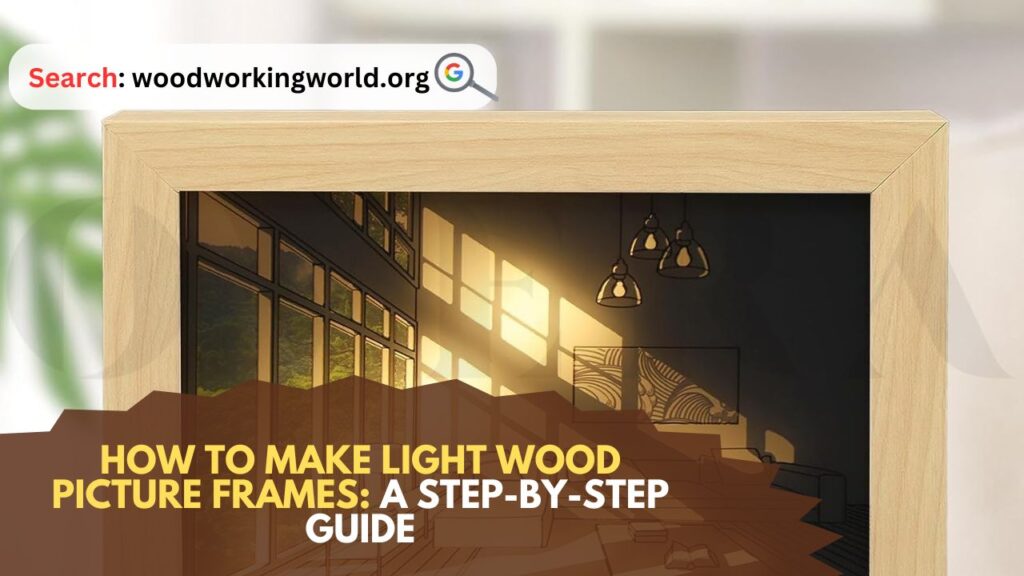
Light Wood Picture Frames: Picture frames not only protect and display your favorite photos or artworks but also add a touch of personal style to your space. Crafting your own light wood picture frames can be a rewarding and creative endeavor, allowing you to customize the size, finish, and design to perfectly suit your needs. In this comprehensive guide, we’ll walk you through the process of making your own light wood picture frames, from selecting materials to finishing touches.
How to Make Light Wood Picture Frames
Materials and Tools You’ll Need to Make Light Wood Picture Frames
Before you start, gather the necessary materials and tools:
- Light wood (such as pine, birch, or poplar)
- Measuring tape
- Saw (miter saw or hand saw)
- Sandpaper (various grits)
- Wood glue
- Clamps
- Nails or screws
- Hammer or screwdriver
- Picture frame hardware (hanging hardware, corner brackets)
- Stain or paint (optional)
- Brushes or rags for applying stain/paint
- Glass or acrylic for the frame cover
- Backing board (cardboard, foam board, or MDF)
- Mat board (optional, formatting the picture)
- Cutting mat and utility knife (if cutting your own glass/acrylic or mat board)
Step 1: Choose and Prepare Your Wood
Select light wood for your picture frame, considering the desired look and durability. Pine, birch, and poplar are excellent choices for their light color and workability. Once you’ve chosen your wood, measure the dimensions of your picture or artwork to determine the frame size. Add an extra inch or two to each side to account for the frame’s width.
Using a miter saw or hand saw, cut four pieces of wood to the desired lengths, with 45-degree angles at each end. These angles will form the corners of the frame. Ensure that opposite sides are equal in length for a well-proportioned frame.
Step 2: Sand and Smooth the Wood
After cutting the wood pieces, sand them thoroughly to smooth out any rough edges or splinters. Start with a coarse grit sandpaper (around 80 grit) and gradually move to finer grits (up to 220 grit) for a smooth finish. Sanding the wood not only improves its appearance but also helps the glue and finish adhere better.
Step 3: Assemble the Frame
Arrange the cut wood pieces on a flat surface to form the frame shape, ensuring the 45-degree angles fit together neatly. Apply wood glue to the mitered edges and press the corners together. Use clamps to hold the frame in place while the glue dries, ensuring a tight and secure bond. Allow the glue to dry according to the manufacturer’s instructions.
For added strength, reinforce the corners with nails or screws. Pre-drill small pilot holes to prevent the wood from splitting, then insert the nails or screws at an angle through each corner joint.
Step 4: Add Finishing Touches
Once the frame is assembled and the glue has dried, sand the corners and edges again to ensure a smooth and even finish. At this stage, you can choose to stain or paint the frame to match your decor. If you prefer a natural wood look, apply a clear finish to enhance the wood’s natural beauty and protect it from moisture and wear.
To stain the frame, use a brush or rag to apply the stain evenly, following the wood grain. Allow the stain to penetrate for the recommended time, then wipe off any excess with a clean rag. Let the stain dry completely before applying a clear topcoat for added protection.
If painting, apply a primer first to ensure good adhesion and a smooth finish. Once the primer is dry, apply one or more coats of paint, allowing each coat to dry before applying the next. Finish with a clear topcoat for durability.
Step 5: Install the Glass or Acrylic
Measure the inside dimensions of the frame and cut a piece of glass or acrylic to fit. If you prefer, you can have this done at a hardware store or framing shop. If cutting it yourself, use a cutting mat and utility knife for acrylic, or a glass cutter for glass.
Carefully insert the glass or acrylic into the frame, ensuring it fits snugly. If needed, use small clips or brackets to hold it in place. Clean the glass or acrylic thoroughly before inserting it to remove any fingerprints or dust.
Step 6: Prepare the Backing
Cut a piece of backing board to fit the frame’s interior dimensions. This board will hold your picture in place. If you’re using a mat board for added aesthetics, cut it to fit the frame and the picture. Use a utility knife and cutting mat for precise cuts.
Position your picture on the backing board, and if using a mat, place it over the picture. Secure the picture and mat (if used) with acid-free tape or mounting corners to prevent shifting.
Step 7: Assemble the Frame
Place the backing board with the picture (and mat) into the frame. Ensure everything is centered and aligned properly. Secure the backing board in place using small nails, screws, or frame clips. If your frame doesn’t have built-in clips, you can use flexible points, available at framing supply stores, which can be pushed into the frame with a special tool.
Step 8: Attach Hanging Hardware
Decide how you want to hang your picture frame – either horizontally or vertically. Attach the appropriate hanging hardware to the back of the frame. Common options include D-rings, sawtooth hangers, or wire hangers. Ensure the hardware is securely fastened and level.
If using wire hangers, cut a piece of picture hanging wire slightly longer than the frame’s width. Attach the wire to the D-rings, leaving some slack to allow for adjustments. Twist the ends of the wire to secure it.
Step 9: Final Inspection and Cleaning
Before hanging your picture frame, inspect it for any remaining dust or fingerprints. Clean the glass or acrylic with a microfiber cloth and glass cleaner. Check that the picture and mat (if used) are properly aligned and secure.
Step 10: Hang and Enjoy
Your custom light wood picture frame is now ready to display. Use a level and appropriate wall hooks or nails to hang your frame securely. Stand back and admire your handiwork, enjoying the personal touch it adds to your home decor.
Conclusion: Light Wood Picture Frames
- Choose quality materials: Investing in good-quality wood and hardware will ensure your frame is sturdy and durable.
- Take your time: Precision is key when cutting and assembling the frame. Measure twice, cut once.
- Experiment with finishes: Different stains and paints can drastically change the look of your frame. Test finishes on scrap wood before applying them to your frame.
- Practice safety: When using saws, glass cutters, or other tools, always follow safety guidelines and wear appropriate protective gear.
- Get creative: Customize your frames with unique designs, decorative trims, or additional embellishments to make them truly one-of-a-kind.
Making your own light wood picture frames is a satisfying project that allows you to create beautiful, personalized pieces for your home. With a bit of patience and creativity, you can craft frames that showcase your treasured memories and artworks in style. Happy framing!
I hope this article on Light Wood Picture Frames has been helpful. If you have any further questions, please feel free to leave a comment below.
Video
