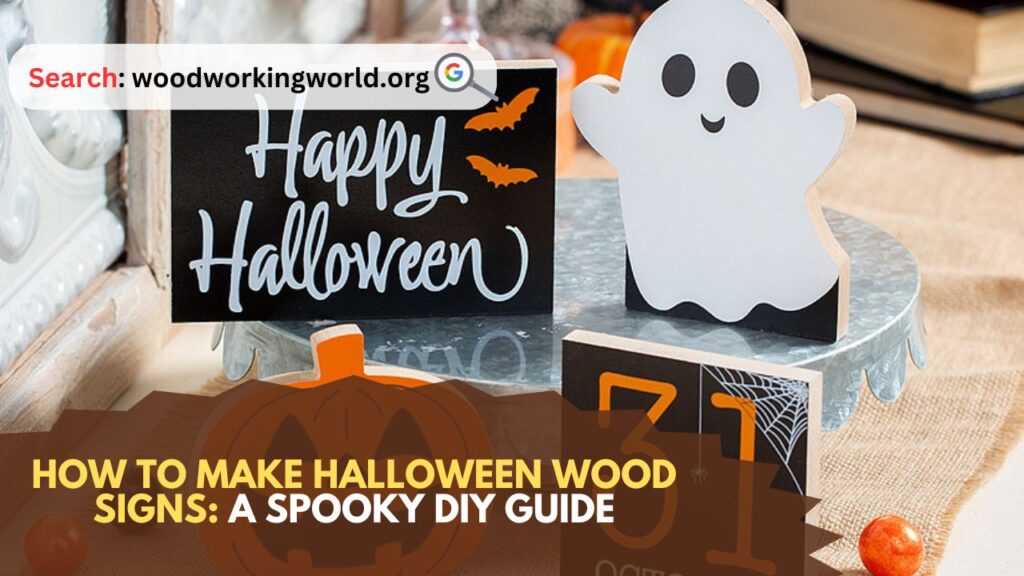
Halloween Wood Signs: Halloween is the perfect time to get creative and add a touch of spooky charm to your home. One fantastic way to do this is by making your own Halloween wood signs. These signs can add a festive flair to your decor, whether you place them on your porch, in your yard, or inside your home. In this comprehensive guide, we’ll walk you through the steps to create your very own Halloween wood signs that are sure to impress your neighbors and trick-or-treaters.
How to Make Halloween Wood Signs
Materials Needed
Before we dive into the steps, let’s gather the materials you’ll need for this project:
- Wooden boards (any size and shape you prefer)
- Sandpaper
- Paint (black, white, orange, and any other Halloween colors you like)
- Paintbrushes (various sizes)
- Stencils or vinyl letters (optional)
- Pencil
- Ruler or measuring tape
- Painter’s tape
- Sealant (optional)
- Hanging hardware (if you plan to hang your signs)
- Decorations (optional: glitter, stickers, ribbons)
Step-by-Step Guide
Step 1: Choose and Prepare Your Wooden Boards
Start by selecting the wooden boards for your signs. You can purchase pre-cut boards at a craft store or home improvement store, or you can use reclaimed wood for a rustic look. The size and shape of the boards are up to you, but common dimensions are around 12×18 inches or 8×24 inches.
Once you have your boards, sand them down to remove any rough edges or splinters. This will ensure that your paint adheres smoothly and that your finished signs look professional. Use medium-grit sandpaper for this task, and then wipe the boards clean with a damp cloth to remove any dust.
Step 2: Plan Your Design
Before you start painting, it’s essential to plan out your design. Think about the message you want to convey with your sign. Popular Halloween phrases include:
- “Trick or Treat”
- “Happy Halloween”
- “Beware”
- “Spooky”
- “Boo!”
- “Welcome”
You can also add images like pumpkins, bats, ghosts, or witches to enhance the Halloween theme. If you’re not confident in your freehand drawing skills, consider using stencils or vinyl letters to create neat and precise designs.
Step 3: Base Coat
Apply a base coat of paint to your wooden board. Black and orange are classic Halloween colors, but you can use any color that suits your design. Use a large paintbrush to cover the entire surface of the board evenly. Depending on the type of paint you’re using, you might need to apply two coats to get full coverage. Allow the paint to dry completely between coats.
Step 4: Add Your Design
Once your base coat is dry, it’s time to add your design. If you’re using stencils or vinyl letters, position them on the board and secure them with painter’s tape. This will help keep them in place while you paint. Use a pencil to lightly trace around the stencils if you prefer to freehand paint within the outlines later.
For freehand designs, sketch your design lightly with a pencil first. This will give you a guide to follow and help you avoid mistakes.
Use smaller paintbrushes to fill in your design with paint. Take your time and apply multiple coats if needed to achieve vibrant colors. If you’re using multiple colors, allow each color to dry before adding the next to prevent smudging.
Step 5: Add Details and Decorations
After your main design is complete and dry, you can add extra details and decorations. Use a fine-tipped brush to add outlines, shadows, or highlights to your letters and images. This will give your sign more depth and make the design pop.
If you want to add some sparkle, apply a thin layer of glue to specific areas and sprinkle glitter on top. You can also use Halloween-themed stickers or ribbons to enhance your sign.
Step 6: Seal Your Sign
To protect your sign from the elements, especially if you plan to display it outside, apply a sealant. A clear acrylic spray sealant works well and will help your sign withstand rain and sunlight. Follow the instructions on the sealant can for the best results.
Step 7: Add Hanging Hardware
If you plan to hang your sign, attach hanging hardware to the back. You can use D-ring hangers, sawtooth hangers, or even a sturdy piece of twine for a rustic look. Make sure the hardware is securely attached so your sign can hang safely.
Creative Ideas for Halloween Wood Signs
Now that you know the basics, here are some creative ideas to inspire your Halloween wood sign projects:
Rustic Pallet Signs
Repurpose old pallets by cutting them into smaller pieces and arranging them in a staggered pattern. Paint your Halloween message across the slats for a rustic, farmhouse-style sign.
Chalkboard Signs
Create a reusable sign by painting a wooden board with chalkboard paint. Use chalk to write different Halloween messages each year. This is perfect for those who love to change up their decor regularly.
3D Signs
Add dimension to your sign by incorporating 3D elements. Use wooden cutouts of bats, pumpkins, or spiders and attach them to your sign. You can paint them in contrasting colors to make them stand out.
Vintage Look
Give your sign a vintage feel by distressing the edges with sandpaper after painting. You can also use a dry brush technique to add a weathered look. Vintage-style fonts and muted colors work well for this theme.
Light-Up Signs
Add a spooky glow to your sign by incorporating LED lights. Drill small holes in the board and push the lights through from the back. You can create the effect of glowing eyes in a haunted house or light up the letters of your message.
Family Name Signs
Customize your Halloween decor by creating a sign with your family name. For example, “The Smiths’ Haunted House” adds a personal touch and makes your decoration unique.
Tips for Success
- Take Your Time: Rushing through the project can lead to mistakes. Allow each layer of paint to dry completely before moving on to the next step.
- Practice on Scrap Wood: If you’re trying a new technique or using stencils for the first time, practice on a piece of scrap wood before applying it to your final sign.
- Use Quality Paints: Invest in good-quality paints to ensure your sign looks vibrant and lasts longer.
- Get Creative: Don’t be afraid to experiment with different designs, colors, and embellishments. Halloween is all about fun and creativity!
- Involve the Family: Making Halloween wood signs can be a fun activity for the whole family. Let kids paint their own mini signs or help with the main project.
Conclusion: Halloween Wood Signs
Making your own Halloween wood signs is a rewarding and enjoyable project that adds a personal touch to your holiday decor. With just a few materials and some creativity, you can create unique and spooky signs that will delight your family and guests. Whether you prefer a rustic, vintage, or modern look, the possibilities are endless. So gather your supplies, put on some Halloween music, and let your creativity flow. Happy crafting, and have a spooktacular Halloween!
I hope this article on Halloween Wood Signs has been helpful. If you have any further questions, please feel free to leave a comment below.
Video
