Top 10 Most Popular Projects from Ted’s Woodworking Kit (Updated 2026)
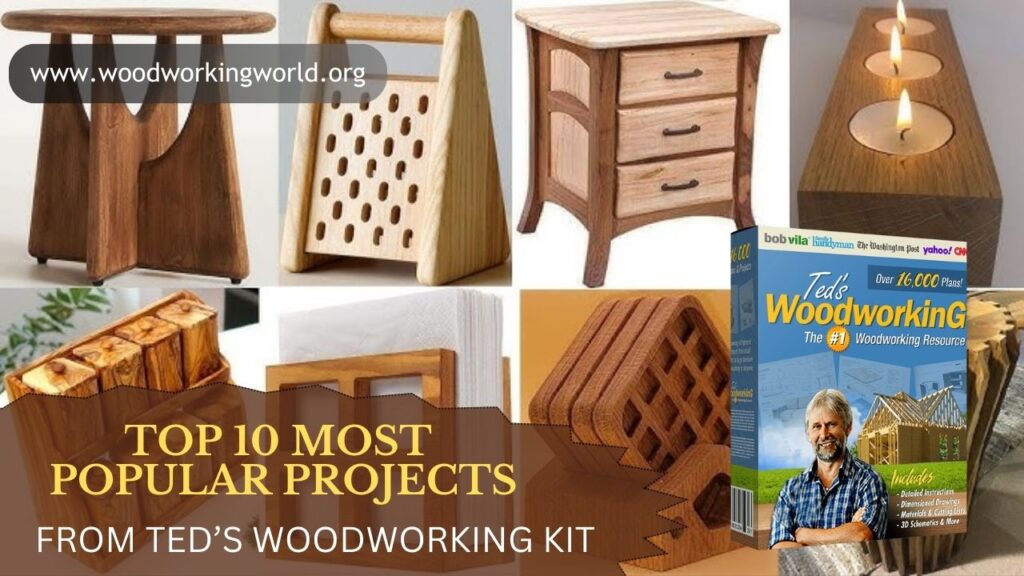
Top 10 Most Popular Projects from Ted’s Woodworking Kit (Updated 2026) Discovering the most popular projects from Ted’s Woodworking Kit can spark inspiration and help woodworkers—whether beginners or seasoned pros—choose rewarding builds that match their skill and interests. With hundreds of plans available, some stand out for their practicality, beauty, and widespread appeal among hobbyists …