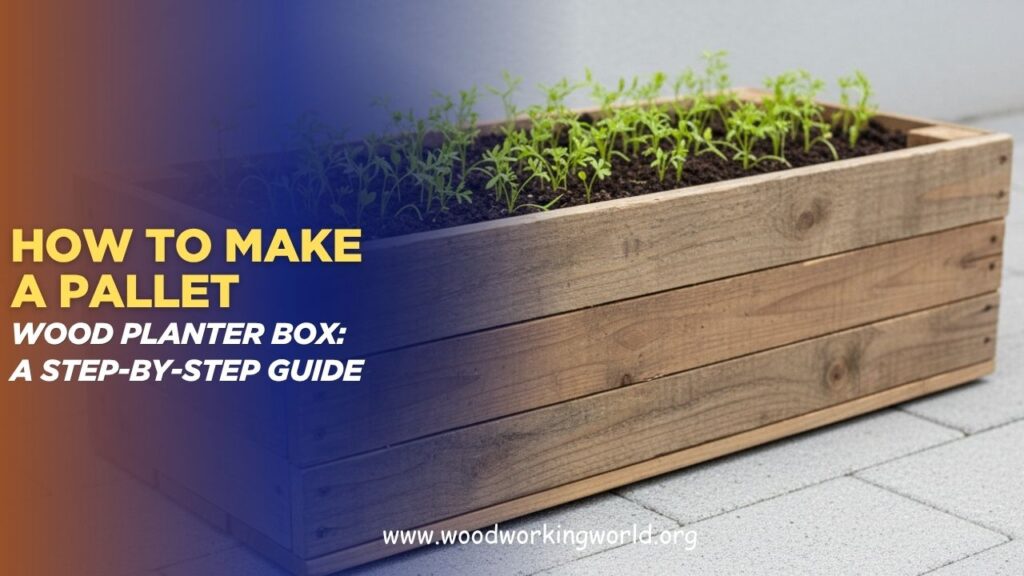
How to Make a Pallet Wood Planter Box: A Step-by-Step Guide
Looking to add a touch of rustic charm to your garden or patio? A pallet wood planter box is an affordable, eco-friendly way to showcase your plants while repurposing old materials. But if you’ve never worked with pallet wood before, the idea of building one from scratch can feel intimidating.
In this step-by-step guide, we’ll walk you through everything you need to know to make your own pallet wood planter box—from selecting the right wood and tools to assembling, finishing, and maintaining your planter—so you can create a durable, stylish addition to your outdoor space with confidence.
👉 CLICK HERE to Unlock 16,000+ DIY woodworking plans now
How to Make a Pallet Wood Planter Box
Materials Needed
Before you start, gather all necessary materials to ensure a smooth workflow. Here’s a list of what you’ll need:
- Wooden pallets (2-3, depending on the size of your planter box)
- Hammer and pry bar
- Saw (hand saw or circular saw)
- Measuring tape
- Pencil
- Sandpaper or electric sander
- Screws or nails
- Drill or hammer
- Wood glue (optional)
- Waterproof liner or landscape fabric
- Staple gun and staples
- Wood sealer (optional)
- Safety gloves and goggles
Step 1: Selecting and Preparing the Pallets
- Choose the Right Pallets:
Ensure the pallets you select are heat-treated (look for the HT stamp) and free from harmful chemicals. Avoid pallets that have been exposed to toxic substances, as these could leach into the soil and affect your plants. - Disassemble the Pallets:
Use a hammer and pry bar to carefully dismantle the pallets. This process can be time-consuming, but it’s crucial to take your time to avoid splitting the wood. Remove all nails and screws to ensure safety while working. - Clean and Sand the Wood:
Once disassembled, clean the wood thoroughly to remove any dirt or debris. Sand the planks to smooth out any rough edges and surfaces. This step is essential for both aesthetics and safety, as it prevents splinters.
👉 CLICK HERE to Unlock 16,000+ DIY woodworking plans now
Step 2: Designing Your Planter Box
- Determine the Size:
Decide on the dimensions of your planter box based on the available space and the types of plants you intend to grow. A common size for a rectangular planter box is 24 inches long, 12 inches wide, and 12 inches high. - Draw a Plan:
Sketch out your design on paper. This plan should include the measurements of each piece of wood you’ll need to cut. Having a visual guide will make the construction process much more straightforward.
Step 3: Cutting the Wood
- Measure and Mark:
Using a measuring tape and pencil, mark the lengths of the sides, bottom, and ends of your planter box on the pallet wood. Double-check your measurements to ensure accuracy. - Cut the Pieces:
Carefully cut the wood according to your measurements. For a rectangular box, you’ll typically need two long sides, two shorter ends, and a few slats for the bottom. A hand saw or circular saw can be used for this purpose.
Step 4: Assembling the Planter Box
- Construct the Frame:
Start by assembling the frame of the planter box. Attach the shorter end pieces to the ends of one of the longer side pieces using screws or nails. Make sure the corners are square for a sturdy structure. You can use wood glue for additional strength before nailing or screwing the pieces together. - Attach the Sides:
Once the frame is secure, attach the other long side piece to complete the rectangular shape. Ensure all joints are flush and secure. - Install the Bottom:
Lay the bottom slats across the bottom of the frame, leaving a small gap between each slat for drainage. Secure these slats with screws or nails.
🛠️ Ted’s 16,000 Woodworking Plans – Why You’ll Love It


Step 5: Adding Finishing Touches
- Sand the Entire Box:
Sand the entire planter box again to smooth out any rough edges and to give it a finished look. Pay extra attention to the corners and edges. - Apply a Wood Sealer (Optional):
If you plan to keep your planter box outdoors, applying a wood sealer will help protect it from the elements. Choose a non-toxic, plant-safe sealer to ensure it doesn’t affect your soil or plants. - Line the Inside:
To prolong the life of your planter box and to keep the soil contained, line the inside with a waterproof liner or landscape fabric. Use a staple gun to secure the liner in place, making sure it covers all sides and the bottom.
Step 6: Planting Your Planter Box
- Add a Layer of Gravel:
Place a layer of gravel or small rocks at the bottom of the planter box to aid drainage. This prevents the roots of your plants from sitting in water, which can cause root rot. - Fill with Soil:
Add high-quality potting soil or a mix appropriate for the plants you intend to grow. Fill the planter box, leaving a few inches of space at the top. - Plant Your Plants:
Arrange your plants in the planter box, ensuring they have enough space to grow. Follow the planting instructions for each type of plant regarding spacing, depth, and watering requirements. - Water Thoroughly:
After planting, water the soil thoroughly to help settle it around the roots of your plants. Keep an eye on the moisture level, especially during the first few weeks as your plants establish themselves.
Tips for Maintaining Your Pallet Wood Planter Box
- Regular Watering: Depending on the climate and the types of plants, ensure your planter box gets adequate water. Avoid overwatering, which can lead to root rot.
- Fertilization: Use organic fertilizers to feed your plants periodically. This will promote healthy growth and vibrant blooms or foliage.
- Weeding: Keep an eye out for weeds and remove them promptly to prevent them from competing with your plants for nutrients.
- Inspect for Damage: Regularly check the planter box for any signs of damage or wear. Repair any loose boards or screws to maintain its structural integrity.
Creative Variations
- Paint or Stain: Customize your planter box by painting or staining it to match your outdoor décor. Use outdoor-grade paint or stain for durability.
- Add Legs or Wheels: For added mobility, consider attaching legs or wheels to the bottom of your planter box. This makes it easier to move around your garden or patio.
- Vertical Planters: Create a vertical garden by stacking smaller planter boxes or attaching them to a frame. This is ideal for growing herbs or small plants in limited spaces.
👉 CLICK HERE to Unlock 16,000+ DIY woodworking plans now
Conclusion: Pallet Wood Planter Box
Building a pallet wood planter box is a rewarding and environmentally friendly project that adds beauty and functionality to any garden or patio. With basic tools and materials, you can create a unique and durable planter box that suits your style and gardening needs. Whether you’re a seasoned DIY enthusiast or a beginner, this step-by-step guide provides everything you need to get started. So roll up your sleeves, gather your materials, and enjoy the satisfaction of creating a beautiful, handmade addition to your outdoor space. Happy gardening!
👉 CLICK HERE to Unlock 16,000+ DIY woodworking plans now
