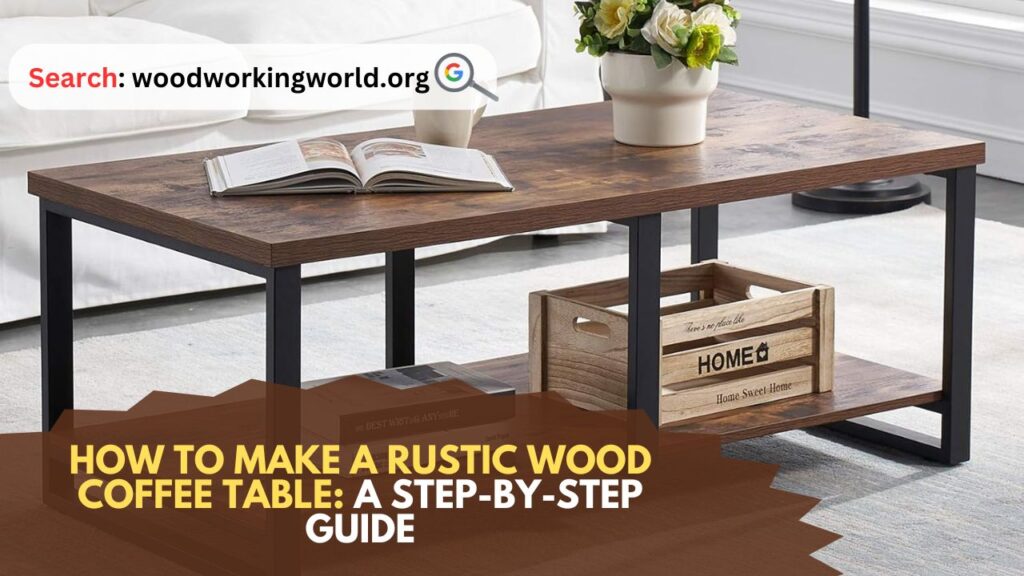
Rustic Wood Coffee Table: Rustic wood furniture adds warmth and character to any home, and a coffee table is often the centerpiece of a living room. Crafting your own rustic wood coffee table can be a rewarding project that combines creativity with practicality. Whether you’re an experienced woodworker or a beginner looking for a new challenge, this guide will walk you through the process of making a beautiful rustic wood coffee table.
How to Make a Rustic Wood Coffee Table
Materials and Tools You’ll Need
Before you begin, gather all the necessary materials and tools. Here’s a list to get you started:
Materials:
- Wood Planks: Choose reclaimed wood or new wood with a rough texture to give it a rustic look. You’ll need planks for the tabletop and legs.
- Wood Screws: Ensure they are the right length for your wood thickness.
- Wood Glue: For additional stability.
- Stain or Finish: To protect and enhance the appearance of the wood.
- Sandpaper: Various grits (coarse to fine).
- Sealer: Optional, for added protection.
Tools:
- Tape Measure: For precise measurements.
- Saw: A circular saw or miter saw for cutting wood.
- Drill: For making pilot holes and driving screws.
- Sander: An electric sander will save time, but you can also sand by hand.
- Clamps: To hold the wood pieces together while the glue dries.
- Paintbrush or Rags: For applying stain and finish.
Step 1: Plan and Design
Before you start cutting wood, it’s essential to plan your design. Determine the size and style of your coffee table. A standard coffee table height is about 16-18 inches, but this can vary based on your preference. Sketch your design, including dimensions for the tabletop and legs.
Step 2: Select and Prepare the Wood
Choose wood with a natural, rough texture to achieve a rustic look. Reclaimed wood is an excellent choice, as it often has a weathered appearance. If you’re using new wood, you can distress it to give it a more rustic feel.
Preparing the Wood:
- Measure and Cut: Use your tape measure to mark the dimensions on the wood planks. Cut the wood to size using a saw.
- Sand the Wood: Sand the edges and surfaces of the wood to remove splinters and rough spots. Start with coarse-grit sandpaper and finish with fine-grit for a smooth surface.
Step 3: Assemble the Tabletop
The tabletop is the focal point of your coffee table. Here’s how to assemble it:
- Lay Out the Planks: Arrange the wood planks side by side to form the tabletop. Ensure the edges fit together well.
- Apply Wood Glue: Apply wood glue along the edges of the planks to secure them together.
- Clamp the Planks: Use clamps to hold the planks together while the glue dries. Leave the clamps on for at least 24 hours for a strong bond.
Step 4: Build the Table Base
While the tabletop is drying, you can start working on the base of the table. There are various designs for the base, but a simple and sturdy option is a rectangular frame with four legs.
- Cut the Frame Pieces: Measure and cut the wood for the frame. You’ll need two long pieces for the sides and two shorter pieces for the ends.
- Assemble the Frame: Drill pilot holes and use wood screws to attach the frame pieces together.
- Attach the Legs: Cut four legs to your desired height. Attach them to the inside corners of the frame using wood screws and wood glue for added stability.
Step 5: Attach the Tabletop to the Base
Once the tabletop glue has dried, it’s time to attach it to the base.
- Position the Tabletop: Place the tabletop upside down on a flat surface. Center the base on top of the tabletop.
- Secure the Tabletop: Drill pilot holes through the frame into the underside of the tabletop. Use wood screws to attach the base securely to the tabletop.
Step 6: Sand and Finish the Table
With the table assembled, it’s time to sand and finish the wood to enhance its rustic appearance and protect it from wear.
- Final Sanding: Sand the entire table, paying extra attention to the corners and edges. This will smooth out any rough spots and prepare the wood for staining.
- Apply Stain: Use a paint brush or rag to apply your chosen wood stain. Follow the manufacturer’s instructions for the best results. Allow the stain to dry completely.
- Apply Finish: Once the stain is dry, apply a clear wood finish to protect the table. You can use a matte, satin, or glossy finish depending on your preference. Allow the finish to dry thoroughly between coats, following the manufacturer’s instructions.
Step 7: Add Distressing (Optional)
If you’re using new wood and want to give your table a more rustic look, you can add some distressing techniques:
- Use Tools: Hammer, nails, and chains can create dents and dings in the wood for a weathered look.
- Sand Edges: Sand the edges and corners more aggressively to mimic natural wear.
- Stain Variations: Apply a second, darker stain in certain areas to create a more aged appearance.
Step 8: Final Touches
After the finish has dried, inspect your table for any rough spots or areas that may need additional sanding or finishing. Make any necessary adjustments to ensure your table is both beautiful and functional.
Tips for Success
- Safety First: Always wear protective gear, such as safety glasses and gloves, when working with wood and power tools.
- Take Your Time: Rushing the process can lead to mistakes. Allow adequate drying time for glue and finish.
- Experiment with Finishes: Test your stain and finish on a scrap piece of wood to see how it will look before applying it to the entire table.
- Use Quality Materials: High-quality wood and finishes will result in a better-looking and longer-lasting table.
Conclusion: Rustic Wood Coffee Table
Creating a rustic wood coffee table is a satisfying project that combines practical skills with creative expression. By following these steps, you can build a piece of furniture that adds character and charm to your home. Whether you’re displaying your favorite books and decor or enjoying a cup of coffee with friends, your handmade rustic coffee table will be a centerpiece you can be proud of. Happy woodworking!
I hope this article on Rustic Wood Coffee Table has been helpful. If you have any further questions, please feel free to leave a comment below.
Video
