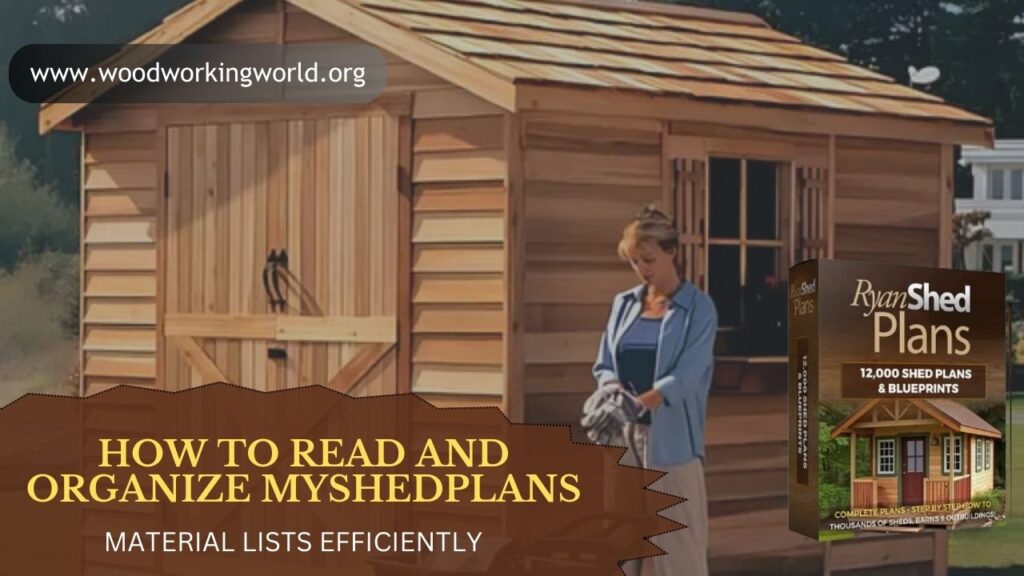
How to Read and Organize MyShedPlans Material Lists Efficiently
When you first open a MyShedPlans guide, you’ll notice one of its most useful features: the detailed material list. Every shed plan comes with one, and at first glance, it can feel like a lot — dozens of lumber sizes, fasteners, roofing materials, and sometimes even specialty items you’ve never bought before.
For beginners, this can feel overwhelming. But here’s the good news: once you learn how to read, organize, and use material lists efficiently, you’ll save yourself multiple hardware store trips, wasted lumber, and tons of frustration.
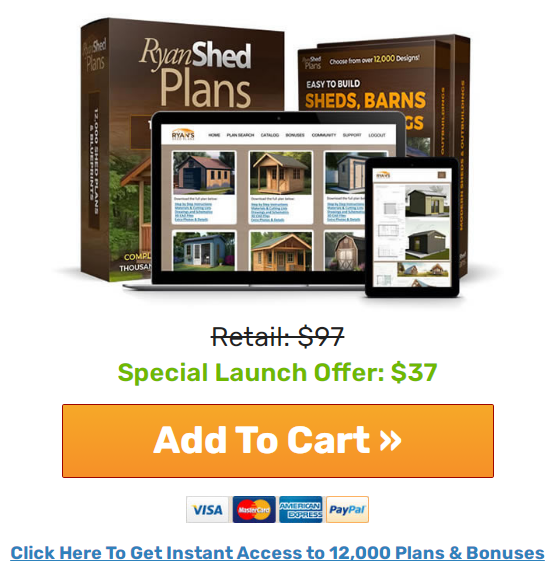
👉 Ready to start planning? Get MyShedPlans today and build your dream shed.
Why Material Lists Are Your Best Friend
Most DIY builders skip or skim material lists, eager to jump straight into cutting and nailing. Big mistake.
Here’s why you should always start with the material list:
- No Guesswork: You know exactly what and how much to buy.
- Cost Control: You can price everything upfront to stay within budget.
- Time Saver: One organized shopping trip beats three “oops, I forgot” trips.
- Less Waste: Exact measurements prevent over-buying or under-buying.
👉 Think of the material list as your blueprint for shopping. Mastering it is step one to a smooth shed build.
Step 1: Understanding the Structure of MyShedPlans Material Lists
Each plan includes a structured material list. Typically, it’s broken into categories like:
- Lumber – Dimensions, quantities, and types. Example: “12 pcs – 2x4x8.”
- Fasteners – Screws, nails, bolts, hinges. Example: “3 lbs – 3” galvanized nails.”
- Foundation Materials – Concrete, gravel, blocks, posts.
- Roofing Materials – Shingles, felt paper, drip edges.
- Hardware/Accessories – Windows, doors, handles, vents.
💡 Pro Tip: Before doing anything else, highlight each category in a different color. This makes the list easier to scan.
👉 Ready to start planning? Get MyShedPlans today and build your dream shed.
Step 2: Decoding Lumber Sizes
One of the trickiest parts for beginners is understanding lumber sizes.
- Nominal Size vs. Actual Size: A “2×4” isn’t actually 2” by 4” — it’s closer to 1.5” by 3.5”.
- Length Matters: Pay attention to “2x4x8” vs. “2x4x10.” Those two extra feet can make or break your roof framing.
- Pressure-Treated vs. Regular: Foundation lumber often requires pressure-treated wood to resist rot.
👉 Don’t just copy the numbers. Understand what they mean before you buy.
Step 3: Organizing the List into a Shopping Plan
Here’s how to turn the material list into a practical shopping guide:
- Make a Spreadsheet or Checklist – Write down every item with quantity, type, and estimated cost.
- Group by Store Section – Hardware store trips are faster if you group lumber, fasteners, roofing, etc.
- Mark Must-Haves vs. Nice-to-Haves – Some items (like optional trim) can wait until later.
- Cross-Check with Tools – Match your material list against your tool list. For example, if you need lag bolts, make sure you have the right drill bit.
💡 Pro Tip: Many big-box stores (Home Depot, Lowe’s) allow you to order online for pickup. Upload your organized list and let them gather everything for you.
Step 4: Estimating Costs Upfront
One of the underrated benefits of MyShedPlans material lists is budget planning.
- Write down the cost of each line item.
- Add 10–15% extra as a “cushion” for mistakes or wood waste.
- Compare prices across 2–3 stores (online tools make this easy).
👉 Knowing the cost upfront prevents “sticker shock” halfway through your build.
Step 5: Labeling and Sorting Materials
Once you’ve purchased everything, the real organization begins.
- Label Lumber by Cut List – If the plan calls for four “2x4x92” wall studs, label those pieces with painter’s tape.
- Separate Fasteners by Type – Keep screws, nails, and bolts in separate containers.
- Sort Roofing Materials Together – Don’t scatter shingles, felt, and nails; keep them stacked in one place.
- Store Safely – Keep wood dry and flat until use to prevent warping.
💡 Pro Tip: Use clear bins or zip bags with labels for fasteners. This saves hours of searching during construction.


Step 6: Tracking Progress with Your Material List
Your material list isn’t just for shopping — it’s also a build tracker.
- Check Off Items as You Use Them – Helps you avoid missing pieces.
- Note Replacements – If you break or miscut lumber, write down what needs replacing.
- Keep Receipts with the List – Makes returns easier if you bought extra.
Common Mistakes Beginners Make with Material Lists
- Not Double-Checking Quantities – Running short on lumber is the #1 cause of project delays.
- Mixing Treated and Untreated Lumber – Leads to durability issues later.
- Ignoring Fastener Types – Galvanized vs. standard nails matter for outdoor durability.
- Overbuying Accessories – Door handles, vents, and trim are easy to overspend on.
👉 Avoid these mistakes, and your build will go smoother than 90% of first-timers.
Why MyShedPlans Material Lists Are Beginner-Friendly
Unlike generic shed blueprints, MyShedPlans lists are:
- Step-by-Step Linked: Every material directly ties to a part of the build.
- Precise: No vague “about 12 boards” — you get exact counts.
- Organized: Grouped by category for easy shopping.
- Scalable: Once you learn with one shed, the system works for every future build.
This structure saves beginners weeks of trial and error.
👉 Ready to start planning? Get MyShedPlans today and build your dream shed.
Verdict: Organize Before You Build
Building a shed without organizing your material list is like cooking a recipe without prepping ingredients. You’ll end up stopping mid-way, scrambling for missing items, and wasting time.
With MyShedPlans material lists, you already have the recipe — you just need to read and organize it. By breaking it down into categories, decoding lumber, creating a shopping system, and labeling materials, you’ll cut out 90% of the stress.
👉 Ready to start your shed build with confidence? Download MyShedPlans today, prep your material list, and enjoy a frustration-free weekend project.
FAQs About Material Lists
Q1: Do I need to buy all materials at once?
Not always. Start with foundation and framing materials, then pick up roofing and trim later.
Q2: Can I substitute different lumber sizes?
Only if you know how it affects structure. Stick to the plan unless you’re experienced.
Q3: What if my store doesn’t have the exact size?
Ask for “cutting services.” Most hardware stores will cut lumber to your needed length.
Q4: How much extra material should I buy?
Add 10% extra lumber for mistakes and waste. For screws and nails, buy full boxes.
Q5: Can I reuse leftover materials?
Yes! Extra lumber and fasteners are perfect for small woodworking projects or shed upgrades.
👉 Ready to start planning? Get MyShedPlans today and build your dream shed.