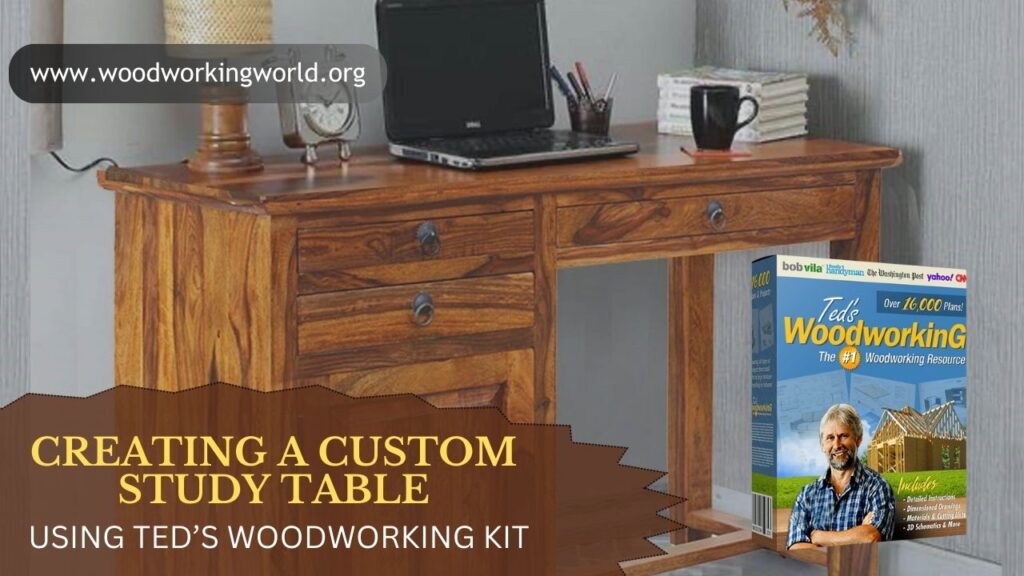
Creating a Custom Study Table Using Ted’s Woodworking Kit
A study table is more than just a piece of furniture — it’s the foundation of productivity. Whether you’re a student burning the midnight oil, a professional working from home, or simply someone who enjoys a dedicated space for reading and planning, having a sturdy, custom-built study table makes a huge difference.
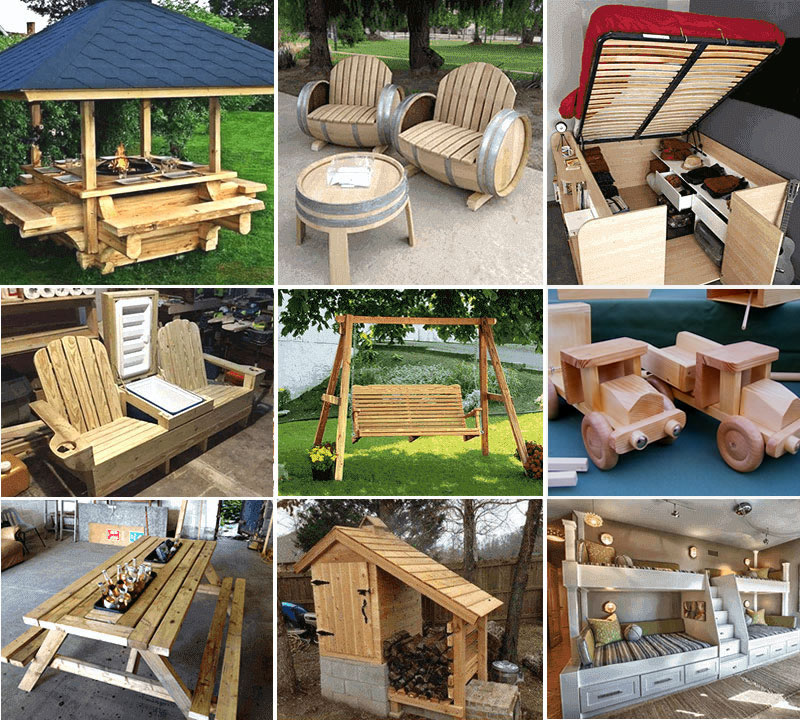
Instead of buying an overpriced, mass-produced desk that may not fit your space or style, why not build your own custom study table? With the help of Ted’s Woodworking Kit, creating a study table tailored to your needs is easier than you might think. Ted’s collection of 16,000+ woodworking blueprints provides step-by-step instructions, diagrams, and material lists — making it simple for beginners and seasoned woodworkers alike.
👉 Want access to thousands of furniture projects? Click here to get Ted’s Woodworking Kit.
Why Build a Custom Study Table?
There are plenty of study tables on the market, but most have drawbacks:
- Wrong size – Too big for smaller rooms or too small for serious work.
- Cheap materials – Particle board and laminates don’t last.
- Overpriced – Solid wood desks often cost hundreds of dollars.
- Lack of customization – You’re stuck with whatever the store offers.
By building your own with Ted’s Woodworking Kit, you get:
- Perfect fit – Adjust dimensions to match your room or corner space.
- Durability – Use solid wood for a long-lasting table.
- Style control – Rustic, modern, farmhouse — your choice.
- Cost savings – Quality materials without the retail markup.
- Satisfaction – Pride in creating furniture with your own hands.
Choosing the Right Study Table Design
Ted’s Kit includes a wide range of desk and table designs, from minimalist writing tables to large workstations. Some great beginner-friendly options include:
- Classic rectangular desk – Simple design with a flat top and four legs.
- Desk with storage – Includes drawers or shelves underneath.
- Corner study table – Perfect for small spaces or home offices.
- Rustic farmhouse table – Adds character with natural wood finishes.
For this guide, we’ll build a classic custom rectangular study table that you can later expand or modify with drawers or shelves.
Materials You’ll Need
Here’s a sample list for a medium-sized study table (48” long x 24” wide x 30” tall):
Lumber:
- 1 tabletop panel (plywood or glued-together planks, 48” x 24”)
- 4 legs (2×2 or 4×4 boards, 30” each)
- 2 long apron boards (1×4, 42” each)
- 2 short apron boards (1×4, 18” each)
Hardware & Supplies:
- Wood screws (2 ½”)
- Wood glue
- Sandpaper (120 & 220 grit)
- Stain or paint
- Clear finish (polyurethane, varnish, or oil)
Tools:
- Measuring tape
- Saw (circular saw, jigsaw, or table saw)
- Drill and drill bits
- Screwdriver or power driver
- Clamps
- Sander or sanding block
- Paintbrushes or rags for finishing
👉 Want access to thousands of furniture projects? Click here to get Ted’s Woodworking Kit.
Step-by-Step: Building Your Custom Study Table
Step 1: Prepare and Cut Your Wood
Measure twice, cut once. Cut all your lumber to the dimensions listed above.
- Legs: Four equal 30” cuts.
- Apron boards: Two 42” and two 18”.
- Tabletop: Pre-cut panel or glued planks at 48” x 24”.
Sand rough edges lightly before assembly.
Step 2: Build the Apron Frame
The apron is the support frame under the tabletop.
- Arrange apron boards into a rectangle.
- Apply wood glue to joints.
- Drill pilot holes and secure with screws.
- Clamp and check for squareness with a carpenter’s square.
Step 3: Attach the Legs
- Position each leg inside the corners of the apron frame.
- Drill pilot holes through apron into legs.
- Screw legs securely (2–3 screws each).
- Stand the frame upright to check stability.
🛠️ Ted’s 16,000 Woodworking Plans – Why You’ll Love It:
- 📚 16,000+ Ready-to-Build Projects – From small crafts to big furniture!
- ✂️ Step-by-Step Instructions – No guesswork, just follow and build.
- 🧰 Perfect for All Levels – Beginner to expert, everyone’s covered.
- 💰 Turn Projects into Profit – Build & sell your creations easily!
- 🔥 Limited-Time Deal – Grab it now at 90% OFF!


Step 4: Secure the Tabletop
- Place the tabletop upside down on a flat surface.
- Position the apron frame on top, centered.
- Drill pilot holes through apron into tabletop.
- Screw securely from underneath to keep screws hidden.
Step 5: Sand Smooth
Sand the entire piece thoroughly:
- Use 120-grit for initial smoothing.
- Finish with 220-grit for a polished surface.
- Pay extra attention to edges and corners.
Step 6: Apply Finish
- Stain option: Apply with a cloth, wipe off excess, and let dry.
- Paint option: Use primer first, then two coats of paint.
- Seal with polyurethane or varnish for protection.
👉 Want access to thousands of furniture projects? Click here to get Ted’s Woodworking Kit.
Step 7: Add Custom Touches (Optional)
Since this is a custom build, you can add features based on your needs:
- Drawer(s) under the tabletop.
- A small side shelf for books.
- Cable management holes for laptops.
- Decorative trim for style.
Ted’s Woodworking Kit includes variations of study tables with these features if you want to level up your build.
Time & Cost Estimate
For a beginner, expect this project to take:
- Cutting & prep: 1–2 hours
- Frame & leg assembly: 2 hours
- Tabletop & sanding: 2 hours
- Finishing: 2–3 hours (plus drying time)
Total build time: 1–2 days.
Cost Breakdown:
- Lumber: $70–$120
- Screws, glue, sandpaper: $20–$30
- Stain/paint & finish: $25–$40
Total cost: $115–$190
Compare that to buying a solid wood desk of the same size — often $300–$600.
Common Mistakes Beginners Make
- Skipping pilot holes – Causes splitting; always pre-drill.
- Uneven legs – Double-check cuts before attaching.
- Weak joints – Use both glue and screws for strength.
- Neglecting finish – Raw wood stains, scratches, and warps easily.
Ted’s blueprints prevent these problems with clear diagrams and assembly tips.
Why Use Ted’s Woodworking Kit?
You could try to freestyle this build, but here’s why Ted’s Plans are better:
- Clear diagrams – Every measurement and cut is illustrated.
- Material lists – Shop with confidence, no wasted trips.
- Skill progression – Start simple, add drawers or shelves later.
- Variety – Choose from rustic, modern, or minimalist table styles.
- Proven designs – Plans tested for stability and durability.
Instead of guessing, you follow a blueprint designed for success.
The Bottom Line
Building your own custom study table is a rewarding weekend project that gives you a functional, durable, and stylish piece of furniture at a fraction of the cost of retail.
With Ted’s Woodworking Kit, you don’t need to be an expert — the plans are laid out step-by-step with all the details beginners often overlook. In just a couple of days, you’ll have a handcrafted study table that perfectly suits your space and style.
👉 Want access to thousands of furniture projects? Click here to get Ted’s Woodworking Kit.